Mini Monets and Mommies: August 2015

Sunday, August 30, 2015

Make Mock Stained Glass with Tape and Glitter!

Combine a ‘coloring page’ and a mock stained glass art activity for kids into one pretty cool project. I’m all for coloring outside of the lines, and this takes it to a new level. Instead of the traditional print and fill pages, make your own with double-sided tape! It’s super-simple, so much fun and a tactile sensory activity that gets the kiddos creative.
Sensory project

I bought a roll of double-sided tape the other day. This turned in to glitter art, sand sensory activities and even a tissue paper collage. It’s less of a mess than glue is, but still perfect for process explorations. Initially, I wanted to use black glitter to create a faux stained glass painting (we had leftover black glitter from last Halloween). As it turns out, the black glitter leaked all over my ‘art basket’. So, that was out. Instead, I swapped in colorful glitter – but, you can use whatever shade you have on hand. The original idea was also to make each ‘color block’ its own shade (similar to a coloring page). I quickly realized that it was much more fun to try different finger paint techniques – and it all added to the sensory experience!

Here’s What You’ll Need:

·        Card stock paper

·        Tempera paints

·        Double-sided tape

·        Glitter

Here’s What to Do:

1.     Create a design with the tape on the paper. Your child can outline the card stock, and then make a geometric pattern, abstract design or even a simple figure.

Kids' art


2.     Sprinkle the glitter onto the tape. Shake off the excess and save it for another art activity.
Kids' crafts

Sparkle art

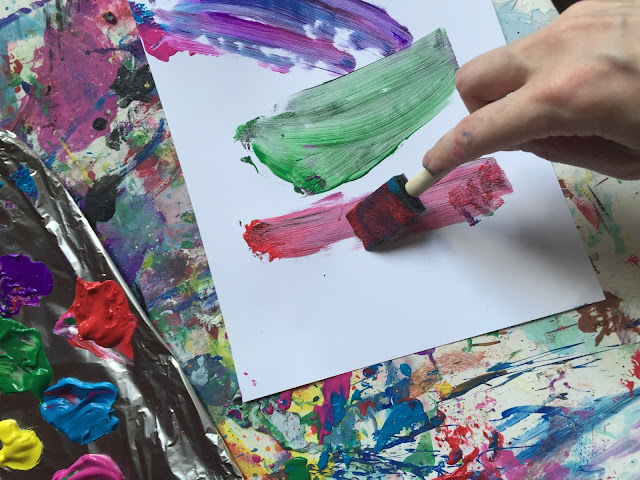
3.     Pour the paint into pools. I like to use wax paper or kitchen foil instead of a pricey palette.
Tempera project

4.     Paint each section. Your child can go with solids, mix and blend or create points with the paint.
 
Stained glass

That’s it! One of the reasons why this kids’ art exploration is so simple is that you don’t need to wait between steps two and four. If you use glue and glitter you need to wait a few hours for everything to dry before your child can paint. With the double-sided tape option there’s no waiting!

Are you looking for more kids’ craft? Follow my Pinterest board for ideas!
Follow Mini Monets and Mommies's board Creative Kids Crafts on Pinterest.

Friday, August 28, 2015

9 Awesome Autumn Art Activities for Kids!

Fall is right around the corner. Ok, so I’m not jumping to get the summer over with just yet. But, pretty soon those leaves will begin turning and it will once again be sweater weather! In honor of the impending autumn season, I’m looking back to some of my favorite fall leaf kids’ art activities.


kids' crafts

Even if it’s not fall yet (or you live in a climate that is constantly warm – and the leaves never change shades), you can still do plenty of these children’s crafts. There are green leaf activities and a few that use paper versions of the real thing.

Tissue Paper Prints: If you’ve ever accidentally gotten non-colorfast tissue paper wet, you know what happens. The color runs everywhere. Use this principle to make autumn-hued prints on paper leaves.

Paint Splatter: Jackson Pollock lover’s will get a kick out of this autumn abstract art activity! Your child can use the real deal or draw and cut out paper leaves for this project.
Abstract art

Leaf Mobile: Take those paint splatter leaves (or make other artsy paper ones) and add some physics to your child’s art-making.

Fall Tree: Use leaves (either colorful ones or those leftover summer green ones) to paint print a seasonal tree.

Color Change Clay: This is one of my favorites! I used to teach a preschool art class in a museum’s galleries – that means no paint. So, we’d use clay to ‘finger paint’ with. This activity lets your little artist change a green paper leaf into a colorful concoction, minus the mess.

Water Colors: Pretty paints plus a leaf or two makes a fantastic fall craft.

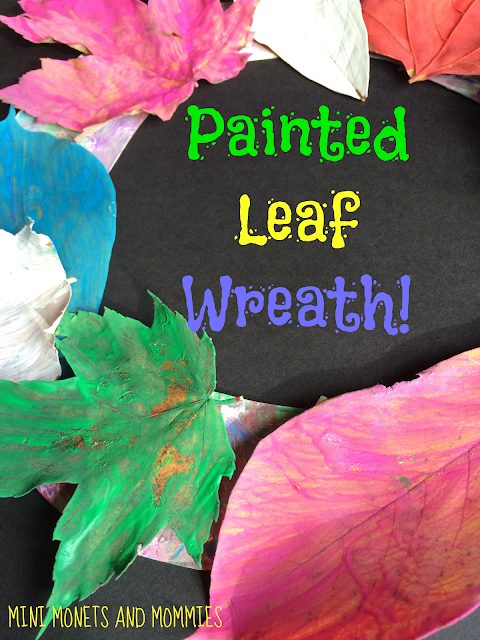
Fall Wreath: I originally made this one for Thanksgiving, but the kids can create it any time of the year.

Abstract Art: Paint, paint and more paint makes this abstract activity fall fun for the kids!

Finger Paint: Perk up those dull brown leaves with some finger paint sensory process art.
Fall art-making

Are you looking for more fall kids’ activities? Follow my Pinterest board for ideas galore!
Follow Mini Monets and Mommies's board Fall Activities for Kids on Pinterest.

Wednesday, August 19, 2015

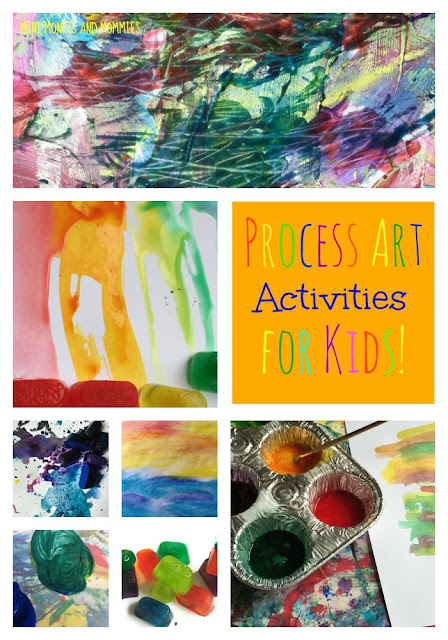
12 Must-Do Process Art Activities for Kids

I’m all about process art for kids. Don’t get me wrong, I’ve done my fair share of craft ‘projects’ while teaching, creating lessons and with my own son. But, it always seems like it’s so much more fun to get into the art in a totally exploration-driven way.

Kids' art
(This post contains affiliate links. Please see my disclosure statement for more details).

What’s This Process Stuff Anyway?

It’s pretty much exactly as it sounds – your child is exploring the process of art-making. She’s creating, discovering, experimenting and working with the materials in a way that lets her learn and grow. Instead of an end result (i.e., product), the goal here is to play with the materials or to see what they can do.

There isn’t just one type of ‘process’ activity. These art-making sessions can include paint, clay, crayons, markers, pencils, paper, scissors, glue, paper mache, yarn, ribbon or any other material. The difference between this type of art and product-based activities lies in what’s expected in the end. In a process exploration of water colors your child might play with how much of the liquid she adds to the paint or mix and mingle colors on the paper. In a product-oriented version (again, using water colors) you might expect her to paint a landscape or create a portrait. There’s nothing wrong with these types of projects. If your child needs structure or is having trouble getting the feel of exploration-based art, the framework of a project may get the ball rolling. Focusing on making ‘something’ may help her to feel more comfortable using the materials or get her into the actual process in a more defined way.

Why Process Art?

Why not? But, seriously – it’s fun! It also helps your child to build creativity, critical-thinking and problem-solving skills. It may look like she’s just slapping paint down on a piece of paper or simply rolling clay around. In reality, she’s figuring out how to use the materials, making predictions, testing those predictions and deciding what works and doesn’t.
Paint Activity

What Art Activities Count a Process-Based?

There are too many to list here, but a few favorites include:

Frozen art: Color some ice and explore what happens as it melts!

Shaving cream paint: Why not toss in some glitter for a super sensory experience?

Finger painting: Try it with fall leaves.

Paint with something unexpected: Maybe gauze?

Glue: Add some food coloring and watch what happens.

House paint: Not really, but your child can use rollers and other ‘wall painting’ tools.


Make an art buffet: Set out an array of materials for your child to pick and choose from.


Paper mache: Make a sculpture or just play with it.

Finger paint plus: Add to the paint with sand or anything else that you want.

Are you looking for more ideas? Follow my process art Pinterest board for exploration creations!


Follow Mini Monets and Mommies's board Process Art for Kids on Pinterest.

Friday, August 14, 2015

Kids' Tissue Paper Collage Made Easy with Double-Sided Tape!

Double-sided tape is sort if my new obsession. Recently, I’ve used it for a few different kids’ art activities – a textured sensory sand craft and a sparkly glitter project. This time we’re combining it with tissue paper to make a crafty collage!

Tissue Paper

This is a majorly easy children’s art project. It takes the typical glue and tissue paper collage, and makes it super-simple. Your child still gets the same sensory experience (with the texture of the tissue), but it doesn’t involve the extra mess of the glue. Don’t get me wrong – I’m always up for a messy art activity. But, there are some times when this just isn’t possible or you just don’t have the time for a major cleanup. This project is perfect if you’re traveling (toss the materials into a baggie) or just don’t feel like peeling school glue out of your child’s hair for the next few hours.

Here’s What You’ll Need:

·        Double-sided tape

·        Card stock paper

·        Tissue paper

Here’s What to Do:

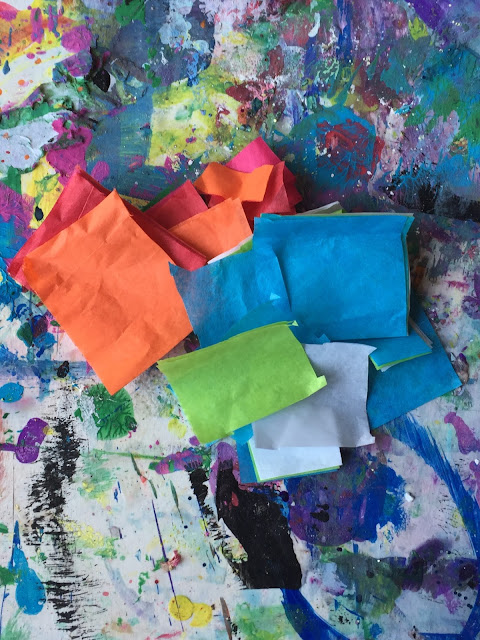
1.     Tear the tissue paper into small-sized pieces. You can also cut it if your child wants extra scissors practice.
 
Kids' art

2.     Stick the tape on to the paper. We made a flower by adding a vertical piece in the center, and then diagonal pieces on top. Later we added two triangle tape shapes to make leaves.
Tape project

3.     Press the tissue onto the tape. Your child can press the paper on flat (like the green stem) or crumple it and make it fluffy (like the petals).
 
Tissue paper

Collage art

Your child doesn’t have to make a flower. She can pick any tissue paper collage design that she wants. She can make a garden scene, a beach, her dog, a house or even an abstract piece of art. Change up the texture by using flat pieces, small-sized fluffy pieces and bigger crimpled tissue.
Children's crafts

Are you looking for more kids’ art activities? Follow my Pinterest board for ideas!
Follow Mini Monets and Mommies's board Creative Kids Crafts on Pinterest.
Tuesday, August 11, 2015

The Ever Evolving Kids' Art Activity: Paint It, Draw It and More!

Who says that kids’ art activities have to be a one-time thing? For years I taught week-long summer art camps for children. One of my favorite parts of the five day programs was that we could start a project on Monday and keep on exploring it for four more days.
Child creativity

Adding on to an art activity doesn’t just keep the kids busy, but it also gets them thinking about what they are making and what they can turn it into. It evolves and changes day-by-day, showing your child that one brush stroke, line made with a marker or glued on piece of paper doesn’t make or break the art. If your little artist is all about the color blue on Monday, she can paint it on. On Tuesday she may be feeling rather green or purple. She can add these hues too!

Even though you’re about to see my version of this extended art activity, there’s no reason that your child needs to repeat it exactly as is. Create your own design, combining different materials and processes. Choose a theme for each day, a type of art-making or go with whatever your child is feeling. Keep in mind, you don’t need to set a specific date for finishing the art. You can quantify it and tell your child that she’s making a 3-day-long project or you can just let it go until it reaches its natural conclusion. You can also skip days if your child doesn’t have time or doesn’t feel like making art.

If you’re not sure where to begin, try this out first…

Here’s What You’ll Need:

·        Card stock paper

·        Tempera paint

·        Paintbrush – Use different brushes in different thicknesses o with sponge tips.

·        Colorful chalk

·        Food coloring

·        Dish soap

Here’s What to Do:

This extended kids’ art activity is a 3-day project.

1.     Day 1-- Pour the paint onto a palette (I like to use wax paper or kitchen foil).

2.     Cover the paper in different colors of paint. Encourage your child to mix the hues to make her own colors.
 
Kids' art

3.     Let the paint dry overnight.

4.     Day 2 – Explore making lines with the chalk. Have your child draw straight or curved lines over the paint.
 
Line art


5.     Day 3 – Mix a batch of bubble paint. Add two to three drops of food coloring to one cup of dish soap and a tablespoon of water. As you mix it, the bubbles will grow.
 
Bubble paint

6.     Paint the colorful bubbles onto the paper. Use a brush (either the bristle part or the other end) to spread and ‘draw’ the click paint across the surface.
 
Bubble painting
 
Kids' paint
 

What kinds of art process do you plan on including in your child’s extended creative activity? Tell us in the comments section.

Are you looking for more creative kids’ crafts? Follow my Pinterest board for ideas!
Follow Mini Monets and Mommies's board Creative Kids Crafts on Pinterest.

Monday, August 10, 2015

Kid-Created S'mores

It’s National S’mores Day! I tend to go a bit overboard (and that might just be a serious understatement) when it comes to these marshmallow chocolate treats. If you don’t believe me, check out some of my favorite s’more recipes (which includes animal cookie ice cream sandwiches, coconut cherries, strawberry sparkles, peeps, donut-topped versions and much, much more).

National s'mores day

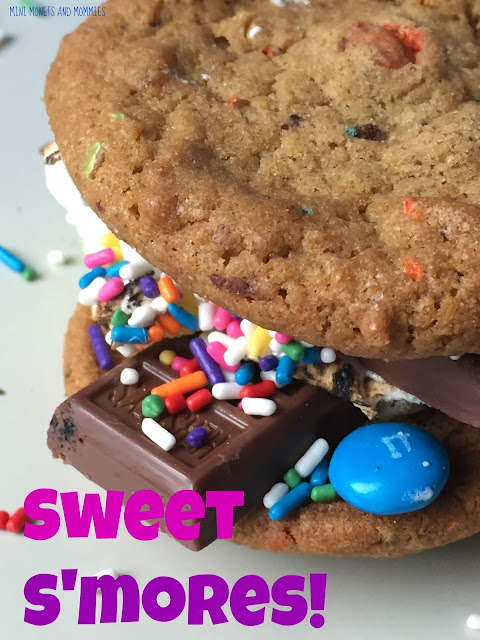
Today I decided that my almost 14-year-old would get the honor of choosing the ingredients. This ended up being much more fun than when I go to the store and buy something that I think he’ll like. I let him make the list and put everything together on his own. So, as much as this post is about making a super-special s’moretastic sweet, it’s also about letting your child be the creative genius behind it. I’m sharing what my son chose, but try swapping in the ingredients that your child asks for. We went all out for treat’s celebratory day, but you can try a theme or even a color scheme. For example, make everything red s’mores. Your child can add in red fruits such as strawberries and raspberries or red sprinkles and strawberry syrup on top.

If you want to give my son’s creation a try…

Here’s What You’ll Need:

·        Cookies – We took the easy way out and used big bakery cookies, but you can bake up your own from a favorite recipe.

·        Chocolate

·        M&M’s

·        Marshmallows

·        Sour gummy worms

·        Rainbow sprinkles
 
Dessert for kids

Here’s What to Do:

1.     Toast the marshmallows. If you have easy access to a campfire or fire pit, go for it. We didn’t (and it was raining out). I toasted the marshmallow over the stove’s flame. Children should not do this. You must be extremely careful not to drop the marshmallow onto the burner or catch the whole thing on fire. A few other options include warming it up in the microwave (10 seconds usually does it, but microwaves vary in strength) or heating them up in the oven (put them on top of the cookies in an oven-safe pan and heat at 350 degrees for until golden brown).
 
Sugar treat

2.     Add a few pieces of chocolate and the M&M’s to the first cookie.

3.     Slide the toasted marshmallow onto the chocolate.

4.     Add a few more M&M’s and the gummy worms.

5.     Spoon the sprinkles on.

6.     Sandwich the s’more with another cookie.
 
Kids' recipes


When asked, "What would you change about your s'mores?" my son answered, "I'd use saltines instead of cookies." Really?

Desserts made by kids


Are you looking for more sweet recipes? Follow my Pinterest board for ideas!
Follow Mini Monets and Mommies's board Sweet S'mores on Pinterest.

Friday, August 7, 2015

Kids' Bubble Painting Art Activity

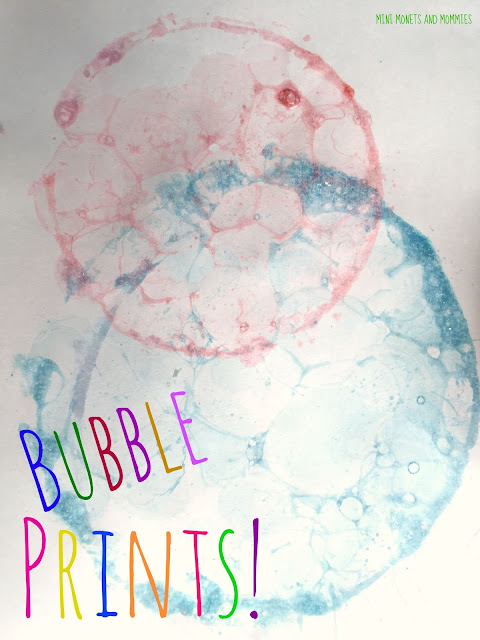
Bubble painting is always a big hit with the kids. Not only does it combine art and science, but it’s always an option when you don’t have actual ‘paint’ on hand.

Kids' art

Instead of packing up the kids and heading out to the craft store, you just need a few things from the kitchen cabinets to get creative! Keep in mind, just because this art activity is made from everyday items, it’s not edible. Dish soap is the main ingredient. Talk to your child about soap, ask her why she thinks it bubbles and why she shouldn’t drink or eat it. You can get more specific, and ask your child:

·        What do you think will happen (or, can you predict) when you blow air through the straw into the liquid soap?

·        What do you think is inside of the bubbles?

·        What shape are the bubbles?

·        How does the food coloring change the bubbles?

·        What do you think will happen when you put the paper on top of the bubbles?

·        How would the paint look different if you used a brush?

Here’s What You Need:

·        Dish soap

·        Bowls

·        Plastic straws

·        Food coloring

·        Construction paper

Here’s What to Do:

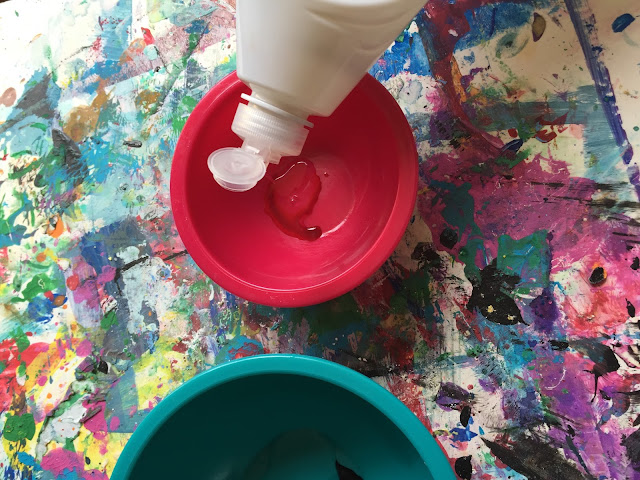
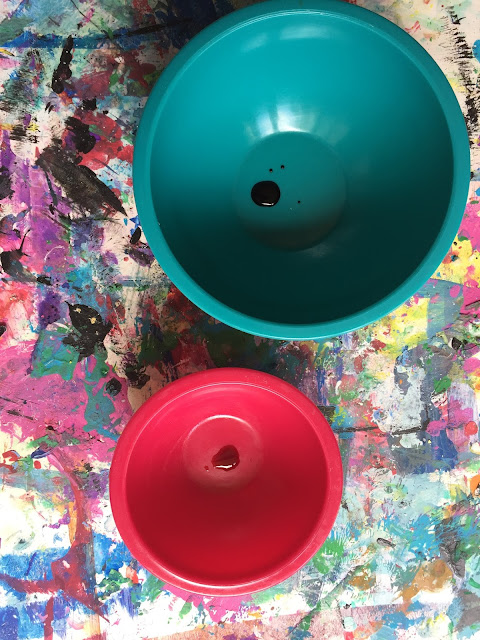
1.     Drip a few drops of food coloring into the bowl. Make one bowl of bubble paint or a few with different hues.
 
Kids' art

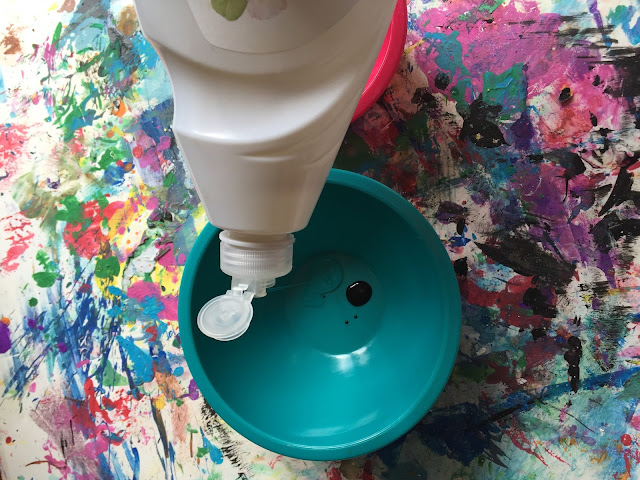
2.     Pour in the soap. I used one cup of soap per bowl (with three to four drops of food coloring), but you may want to add more or less, depending on how much paint you want to make.
 
Kids' science

3.     Blow air through the straw into the paint. Make sure that your child pushes the air out and doesn’t slurp in the soap. If she does happen to get a bit of soap in her mouth, tell her to spit it out immediately. If your child is too young to blow bubbles without drinking the soap, do this step for her. The bubbles should balloon up above the bowl’s edge.
 
Children's science

4.     Gently press the paper on top to make a honeycomb-like pattern.

5.     Repeat with another bubble paint color or try it again with the same shade.
 
Print Paint
 

Are you looking for more creative kids’ crafts? Follow my Pinterest board for ideas!

 
Follow Mini Monets and Mommies's board Creative Kids Crafts on Pinterest.

Wednesday, August 5, 2015

How To Make Process Art from Kitchen Foil

Do you have an extra sheet of kitchen foil? Then you have the perfect palette for your child’s process art exploration. Sure, you usually use the shiny stuff to wrap up leftover, line your baking pans and keep the kids’ lunches in place. But, this time you can use it for an artsy adventure!

Kids' crafts

Kitchen foil and wax paper are two of my favorite inexpensive paint ‘trays’. They provide pretty effective barriers to keep whatever mess your child is making off of the table. If you’re already using a piece of foil for your child’s art activities, don’t let that leftover paint go to waste. Instead, keep it out and let your child experiment with it. How?

Here’s What You’ll Need:

·        Tempera or finger paints

·        Kitchen foil

·        Paper

·        Optional: A Paintbrush

Here’s What to Do:

1.     Pour the paint. If your child isn’t already crafting, pour at least three colors of paint onto the flattened foil. You can use any colors that you want or go with a primary mixing exercise (use red, blue and yellow to mix green, orange and purple).

2.     Let your little artist mix the colors. She can use her finger or a paintbrush.
 
Process art

3.     Explore how folding the foil changes the paint. Fold and unfold it or crinkle the foil together.
 
Children's crafts

4.     Flatten the foil again. Draw designs into the paint. Your child can use her hands or the end of the paintbrush to do this.

Kids art
 

5.     Press a piece of paper on top of the paint to make a print.
 
Print-making art

Eventually the paint will turn into a brownish hue that’s none too pleasing on the eyes. But, your child is having fun – so, that’s all that matters. Keep mixing the paint, drawing in it and printing until your child has made enough discoveries for the day. Then start over again tomorrow!

Are you looking for more process art for kids? Follow my Pinterest board for ideas!
Follow Mini Monets and Mommies's board Process Art for Kids on Pinterest.