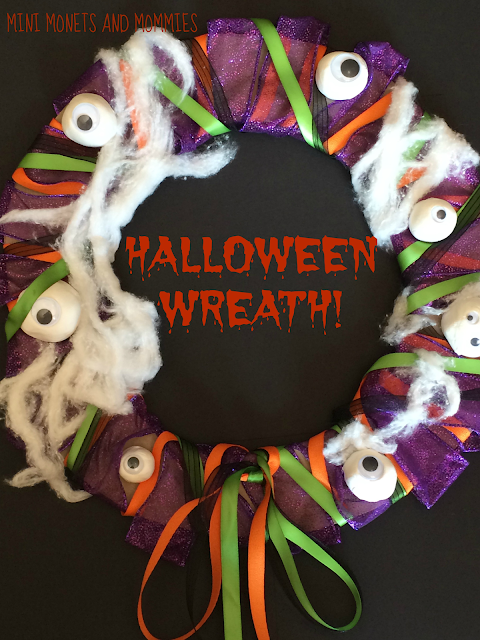
It used to be a pizza box, and now it’s a Halloween
wreath! I’m all for decorating on the cheap. That said, I don’t want to wait
until October 30 to buy whatever leftover décor is 75 % off at the craft store.
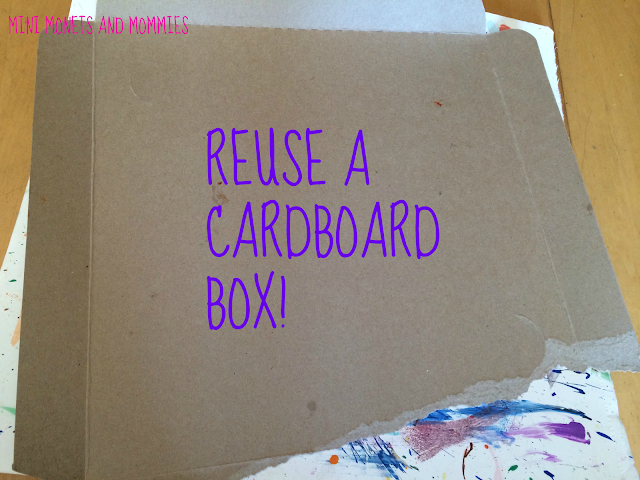
So, instead of patiently awaiting a sale, I reused one of the many empty pizza
boxes that are slowly piling up in my garage (somehow my 13-year-old always
seems to miss taking those out on garbage night).
This holiday wreath is super-easy to make. As a
bonus, it adds in a few other lessons for your child to learn:
·
Math- Shape and pattern. The circle
shape and ribbon pattern that she’ll make can build budding mathematics skills.
·
Colors – Name the colors of ribbon as
your child works.
·
Sensory exploration – Use different
textures of ribbon. I choose a sheer, gauze type of ribbon along with silky
versions. Pick a few different types that your child likes, and encourage her
to feel the differences.
·
Environment – Discuss why you are reusing
cardboard. Explain that instead of tossing it in the trash; you can transform
it into something new.
Here’s What You’ll Need:
·
Reused cardboard – I used a pizza box
lid, but you can use the side of any other type of box.
·
A marker
·
Scissors
·
Clear drying school glue
·
Thick wire-edged ribbon – The wire on
the edges will help the ribbon hold its shape and make it easy to ‘poof’ up.
·
Thin ribbon in Halloween colors –
orange, black, green
·
Model magic
·
Googley eyes
·
Cotton balls
Here’s What to Do:
1. Draw
a circle onto the cardboard with a marker. Make it a double or bubble circle
and have your child draw a smaller version in the middle.
2. Cut
the circle out. Cutting through thick cardboard may be a challenge for little
fingers. Although I usually advocate being hands-off when it comes to kids’ art
activities, this time you will want to take over. You will have a slim donut
shape when you’re done cutting.
3. Wrap
the thick wire-edged ribbon around the circle. Glue the ends down on the back.
4. Create
a pattern with the ribbon. Cut strands of the thin ribbon. Have your child
weave it around the wreath, creating colorful patterns.
5. Tie
the ends of the ribbons at the bottom of the wreath. This is a prime
opportunity to work on shoe tying.
6. Pull
cotton balls apart to make spider webs. Wrap the strands around the wreath.
7. Roll
the Model Magic into balls to make eyes. Your child can use her palms to make
mini spheres.
8. Press
googley eyes into the Model Magic.
9. Glue
the eyes onto the wreath. Move the ribbon aside so that the glue is on the
cardboard. The Model Magic is too heavy to stick onto the ribbon without
falling off.
10. Hang your child’s spooky Halloween
craft!
Are you looking for more fall activities? Follow my
Pinterest board for awesome autumn ideas!
Follow Mini Monets and Mommies's board Fall Activities for Kids on Pinterest.













.JPG)
.JPG)
.JPG)
.JPG)
.JPG)
.JPG)

.JPG)
