Mini Monets and Mommies

Tuesday, September 9, 2014

Picasso Pumpkin Kids' Fall Art Collage


Fall is right around the corner. That means leaf wreaths, apple art, Halloween crafts and pumpkin projects. Over the years I’ve done my fair share of autumn activities – both at work (teaching children at an art museum) and at home with my son. My brain is always turning – trying to think of something that is autumn-themed, but still new.
Fall art
 
I’m a fan of the famous artist lesson (again, years teaching kids at an art museum). So, I figured why not combine fall art and famous art? What did I get? A Picasso Pumpkin!

Before you get started, bridge the art and science aspects of this activity with some pre-crafting fun:

·        Explore a pumpkin! Open one up for your child and let her explore inside. Get messy and let her feel the seeds and pulp.

·        Look at Picasso’s work. If you’re lucky enough to have a museum nearby (or you’re visiting one) that has a Picasso, your child can look at the real deal. If not, view reproductions in books or online.

Now your child is ready for the pumpkin art activity.
Kids' Crafts

Here’s What You’ll Need:

·        Orange and black construction paper

·        Construction paper in two colors that aren’t orange

·        Green tissue paper

·        Scissors

·        Clear drying school glue

·        A marker

Here’s What to Do:

1.     Fold the orange construction paper in half.

Paper craft

2.     Draw half of a circle starting at the fold.

Kids' art
 
3.     Cut out the circle to create the pumpkin shape.

 
4.     Open the circle. Glue a piece of green tissue paper on the top to make a stem.

Childrens crafts
 
5.     Create jack o ‘lantern eyes and a mouth. Your child can cut these out of the black tissue paper.

6.     Glue the eyes and mouth on the pumpkin.

 
7.     Make another paper circle that is slightly larger than the pumpkin.

 
8.     Dot glue on the back of the circle and press it onto a third piece of paper.

 
9.     Cut the pumpkin face apart. Have your child create puzzle piece-sized parts.

Artist lesson
 
10.  Turn the cut pieces over and mix them up. Your child can dab glue onto the back.

11.  Piece together the Picasso style face. Your child can mix and match the pieces, gluing them onto the circle-shaped piece of paper.


Autumn Crafts
 
Are you looking for more fall themed art projects? Follow my Pinterest board for ideas!
Follow Mini Monets and Mommies's board Fall Activities for Kids on Pinterest.

Monday, September 8, 2014

Relaxation Techniques for Mommy: De-Stress With Art


Mommy stress! It’s something that we all have to deal with. It’s 9 a.m. and you’ve already been up for four hours. So far you’ve washed two loads of clothes (and they’re still sitting crumpled in the basket waiting for someone to fold them), made three lunches, fed your kids totally separate meals, braided your preschooler’s hair, bathed the baby and managed to find five out of the six shoes that you’re looking for. You’re ready to pull your hair out and are beginning to daydream of a totally kid-free zone.

Mom Relax
 
While a day at the spa sounds like a delight, it’s about as likely to happen as winning the lottery at this point. Instead of giving in to the stress, let it go and relax with an art activity. Sure, your kids make tons of arts and crafts projects. But, what about you? Think about the sweet smiles that cross your kids’ faces as they paint, print and play with clay. Do they look super-stressed? Most likely not.

Art can help you to relax. A study of college students one week before final exams (remember how stressful that was?) found that art-making activities reduced anxiety, according to Art Therapy: Journal of the American Art Therapy Association. Instead of sitting back while your kids craft, join in. This doesn’t mean that you need to direct them or take over the project. Act like one of the kids, and do what they do.
Craft Relaxation

Use art to relax, and:

·        Grab your own piece of paper, paint or play clay. Don’t add on to your child’s project. Instead, make something of your own.

·        Enjoy the process. Who cares if your self-portrait looks more like a Picasso than a picture? No one does. Get into the process of the art-making and don’t worry about the end product.

·        Use your senses. Feel the cool paint slip between your fingers, roll the soft play clay under your palms or watch as the glitter glue catches the sun as it drips on to your paper.

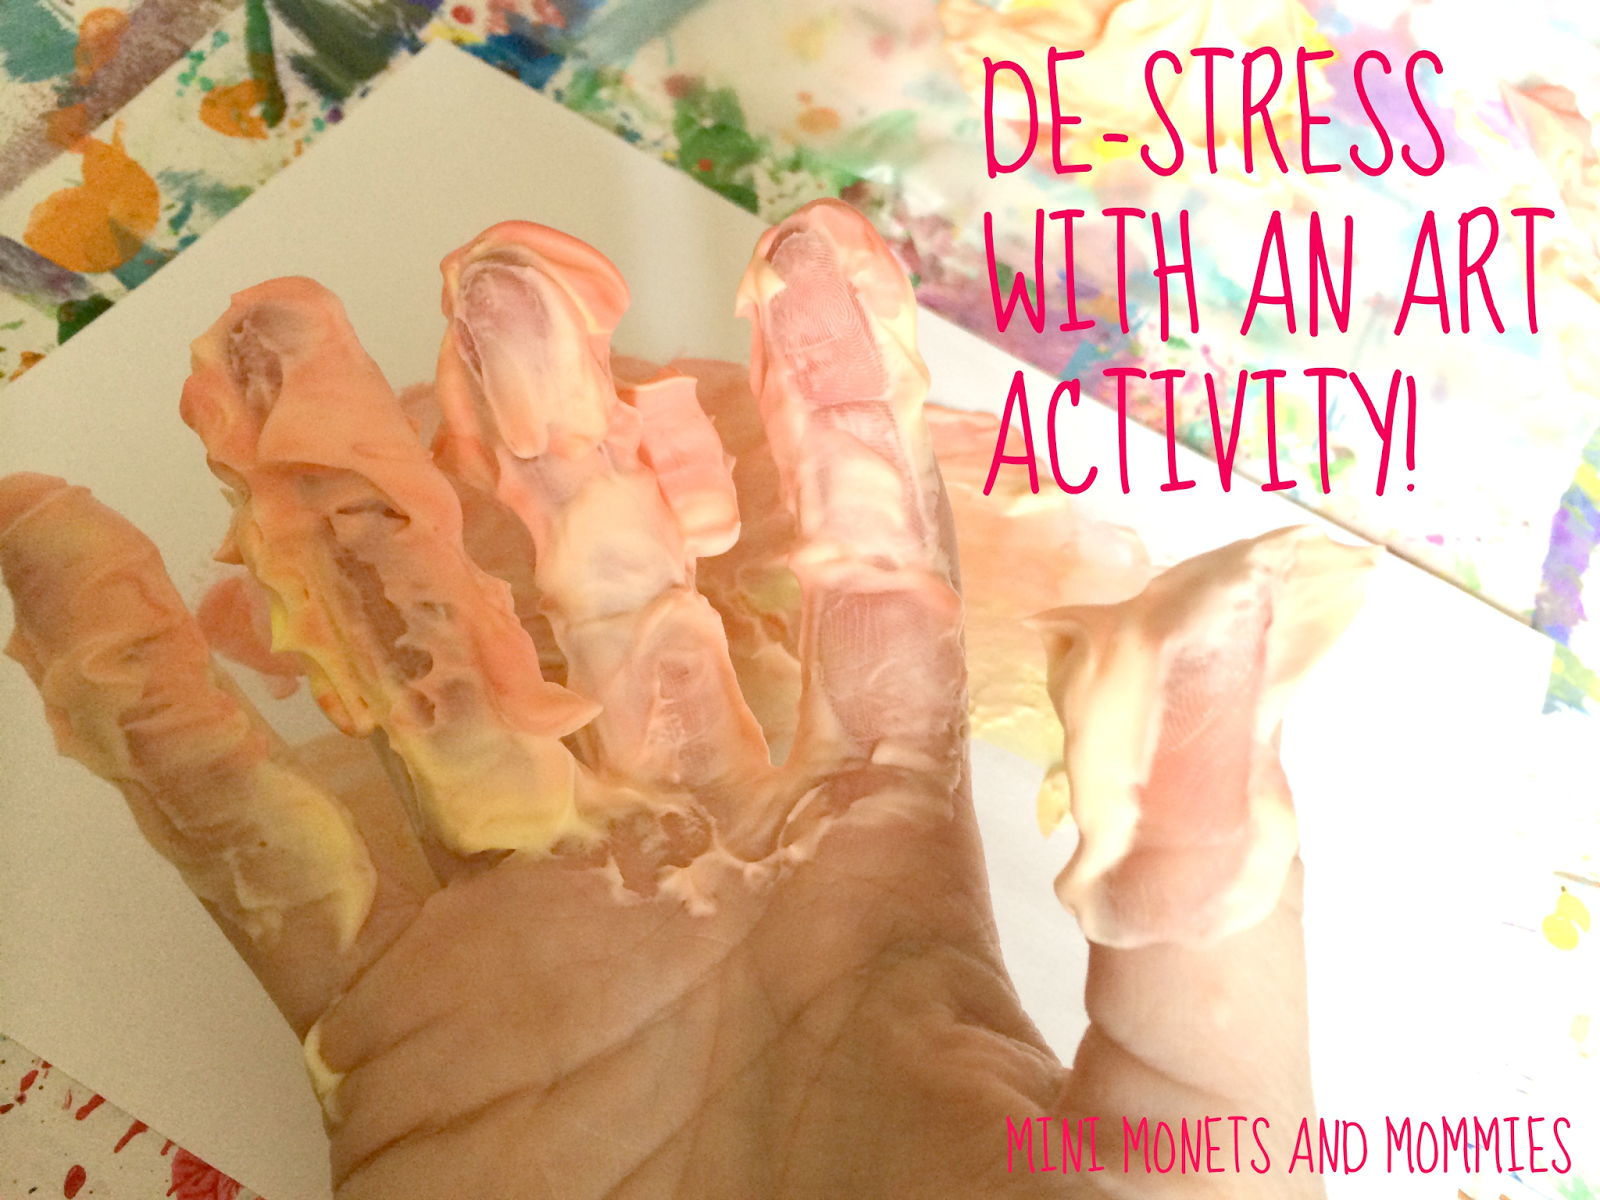
·        Close your eyes for a moment. Take a beat to truly relax and let go. Grab some finger paint, shut your eyes and de-stress as you spread the mess onto a piece of paper.

·        Remember what it was like to be a child. Think back to a time before you had responsibilities and a crazy-packed schedule. Let the thoughts of the credit card bill, preschool payment, carpool list, soccer schedule and empty fridge go.

Not sure what to create? Here are a few of my favorites:

Shaving Cream Paint: Add a few drops of food coloring to shaving cream. Smear it around on a piece of cardboard or slide it over wax paper. Use a sensitive skin or aloe formula to make the relaxing art activity a moisturizing beauty bath for your hands.

Relax Mom

 
Paint With Clay: Smudge and “finger paint” with dime-sized balls of clay. They’ll stick to the paper underneath. The more that you smear and pull the clay, the more stress you can get out.

Ckay Play
 
Paint Splatter: Dip a brush into tempera paint and toss it on a piece of paper. Let go of any anger or bottled up frustration as you fling the paint. Take it outside to make less of a mess in your house.

Kids' Art
 
Textured Finger Paint: Add sand, coarse salt or sugar to finger paint. The sensory experience will relax you and the added texture works as an exfoliator.

Sand art
 
Are you looking for more art ideas to try with your child? Follow my Pinterest board for activities galore!
Follow Mini Monets and Mommies's board Creative Kids Crafts on Pinterest.

Sunday, September 7, 2014

Fall Shaving Cream Art for Kids


Ooey, gooey shaving cream is a super-simple way of adding a sensory experience to your child’s art activities. I’m all for using paints, but making your own colorful cream has its advantages. The fluffy texture creates a 3-D piece of art that seems to pop off of the page. Your child can also mix her own colors and then use it as a textured “finger paint.”

Arts and crafts
 
Sadly the sunny pool-filled days of summer are almost over. That said, sweater-weather is almost here. What does this have to do with shaving cream art? I’ve made my fair share of fall paint, print and sculpture projects. This time I’m combining the tactile cream with autumn trees. Your little artist can glop, drop and fluff this DIY paint, creating the colorful leaves of fall!

Here’s What You’ll Need:

·        Shaving cream

·        Card stock paper

·        A popsicle stick

·        Red and yellow food coloring

·        Glue

Here’s What to Do:

1.     Spray three piles of shaving cream. I used wax paper as a barrier.

Kids' Art

2.     Drip red food coloring into one pile, yellow into the next and both colors into the third. Have your child mix the food coloring through the shaving cream. The red and yellow one will make orange.

Childrens' Crafts
3.     Dot glue lines on the back of a popsicle stick. Your child can press it down on the card stock to make a tree trunk.

 
4.     Add fall leaves! Your child can use her fingers to paint red, yellow and orange leaves around the popsicle stick trunk.

Fall Fun
 

Autumn Leaf
 
If your child enjoys this type of messy art, check out the Shaving Cream Monet Paint activity that I did last week. It combines sensory exploration and a famous art lesson.
Famous Artists

Are you looking for more fall themed projects? Follow my Pinterest board for ideas!

 
Follow Mini Monets and Mommies's board Fall Activities for Kids on Pinterest.

Friday, September 5, 2014

DIY Paint Palette for Kids' Art Activities


A decade or so ago I started teaching children’s art programs at my local museum. The first day on the job I got a giddy glance at the paint closet. It was filled to the brim with every color in the rainbow, plus every metallic version of gold, silver, copper and bronze.  I’m not entirely sure why we had so many colors of paint. I quickly found that other than the every-so-often time that we used bronze or gold, for every project it was the primaries and white.

Paint art
 
Instead of giving the kids a full set of colors, we only gave them red, blue and yellow (plus white to lighten things up). So, every class prep session started the same way – squeeze four puddles of paint onto each corner of a plastic tray. At home I wanted to institute the same coloring mixing idea with my son. But, we didn’t have a tray. Sure, I could have gone out and bought a pricey palette or kept a stock of trays on hand.

Instead, I came up with an inexpensive) although, not permanent) solution. Wax paper. Pull off a sheet and it becomes its own disposable tray. I like to use scrap foam core board as a protective barrier between art projects and the table underneath. Add a sheet of wax paper and you have a super-cheap (and beyond easy-to-make) palette.

How does your child use wax paper as a paint palette?

·        Pull off a sheet that is at least 12-inches long. The exact size that you need depends on how much paint your child needs. If she’s make a mega-sized masterpiece you’ll need a larger piece of paper.

·        Pour the paint. Be wary of curving edges. If the edges start curling up, use the paint bottles to weight down the edges. This will make the paper flat enough to hold the paint without letting it slip, drip or run.

·        Mix away! Hand over a brush, sponge or any other painting tool and encourage your little artist to start blending.

Color Mixing
 
The next time that your child wants to make a green tree, an orange flower or a purple butterfly, grab the wax paper and make your own paint palette!

Process art
 
Are you looking for art activities to go along with your child’s new DIY paint tray? Follow my Pinterest board for ideas!
Follow Mini Monets and Mommies's board Process Art for Kids on Pinterest.

Leaf Print Fall Tree Art Activity


Even if it isn’t fall yet (or you live in a year-round summer, palm tree-lined area) your trees can still turn into awesome autumn colors. Don’t get me wrong – nothing tops the beauty of nature. But, your child’s art can be pretty beautiful too!  Combine the two and you get a colorful season-themed project.
Autumn Print

I’m big on print-making. Styrofoam, sandals (yes, sandals) and even pipe cleaners can transform into perfect printing materials. In this kids’ craft, get your little artist out into nature and combine science and art. Take a trek outside and collect leaves, twigs and bark. Spend some time observing the natural environment and ask your child open-ended questions such as:

·        What colors do you see?

·        Why do you think some leaves are on the trees and some are on the round?

·        Where do you think that piece of bark came from?

·        What does the leaf feel like in your hand?

·        How do the leaves and the twigs feel different?

Bring your natural objects inside or set up an art station in the backyard.

Here’s What You’ll Need:

·        Leaves and twigs or bark

Science art

 
·        Card stock paper

·        Orange, yellow, red and brown tempera paint

·        A piece of wax paper

·        A paintbrush

Here’s What to Do:

1.     Pour the paint in baseball-sized pools on a piece of wax paper.

Wax paper
 
2.     Dip the bark or a twig into the brown paint. If your child can’t cover the bumpy texture, have her use the paintbrush to add more paint.


3.     Press the paint-covered bark or twig onto the paper to make a tree trunk.

4.     Dip the leaves into the paint, one color per leaf.
 
Fall Print

5.     Place the leaves (one at a time) onto the paper. Press firmly down to make autumn colored tree branches.
 
Autumn Art

6.     Mix some of the colors onto one leaf to make a marbleized, blended look.
 
Fall art


Are you looking for more fall activities? Follow my Pinterest board for crafts, games, sensory explorations and recipes!
Follow Mini Monets and Mommies's board Fall Activities for Kids on Pinterest.
Tuesday, September 2, 2014

Alphabet Themed Lesson Plans


Preschool lessons
 
It’s the start of the school year! That new pencil smell, dirt-free backpacks and the chance for kids to learn, learn, learn! Whether you home school, supplement your child’s in-school education with at-home activities or are a teacher, coming out with creative lessons isn’t always easy. I know how it goes—You have an idea or goal in mind, and then sit in front of a blank computer screen for what seems like an eternity until the words finally pour from your fingertips.
Kids' Lessons
 
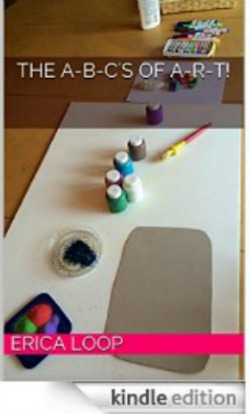
Even if you already have a curriculum that you’re using, you may still need to craft a few extra “special” activities. If learning letters is on the menu this school year, I have a solution. My e-book “The A-B-C’s of A-R-T” provides alphabet art activities for each letter. You’ll get materials lists, super-simple step-by-step tutorials and extensions for other content areas such as math and science. As a bonus, starting September 3 (for a limited time) it’s on sale for only $ .99. That’s dozens of alphabet arts activities for under a dollar. Add them to your weekly lessons or use them for themed projects. Simply click on the image of the book below to see what it's all about!

Alphabet Lessons

Monday, September 1, 2014

Halloween Bat Kids' Paint Project


Believe it or not, Halloween is almost here. The aisles of the grocery store are stoked with candy corn and all the mini chocolate bars that a trick-or-treater could beg for and (even though our school year hasn’t even started) I saw a neighbor’s yard decked out in ghoulish ghosts and orange pumpkin garlands. So, I figure – let the holiday kids’ art brigade begin!
Bat Crafts

A vampire bat, flying through a sunset sky in silhouette. How much more Halloween can you get than that? On top of the totally themed part of this project, it’s also super-easy for kids to create and lets them get into the messiness of paint as a process.  

Here’s What You’ll Need:

·        White card stock paper

·        Tempera paints

·        A paintbrush

·        Black construction paper

·        A marker

·        Scissors

·        Clear drying school glue

Here’s What to Do:

1.     Paint a sunset sky. Have your child start with a blue base. Give her pink, purple, yellow and orange to mix, blend and streak across the blue. This creates a sunset effect and encourages your child to explore the painting process. Let her know that it’s alight if her brush strokes show through or her colors get a little mixed up looking. The idea is for her to make her own discoveries and experiment.
 
Process art
 
Painted sunset
 

2.     Fold a piece of black construction paper in half book-style. Draw half a bat coming from the center fold. Your child can use chalk or a marker. Black construction paper is typically light enough that she’ll easily be able to see the outline that she draws.
 
Marker drawing

3.     Cut the bat out – keeping the paper folded.
 
Kids Halloween

4.     Open the paper.
 
Kids crafts

5.     Draw glue lines around the back edges of the bat.
 
Kids' crafts

6.     Press the spooky flying vampire creature on the painted sunset. Press it down firmly.

Sunset art
 
Bat art

Are you looking for more creative crafts for your child? Follow my Pinterest board for ideas galore!
Follow Mini Monets and Mommies's board Creative Kids Crafts on Pinterest.