Maybe it’s
the summer heat or maybe it’s just a desire to use my new set of ice cube
trays, but I’ve been doing icy exploration after icy exploration – ice building blocks, experiments, freezing chalk paint and now sparkling, glitter Frozen
water colors!
This kids’
activity combines art and science. Sure, it’s got gaggles of glitter. But, it
also includes a bit of exploration and discovery. You can make the Frozen ice
cubes one of two ways – use food coloring or go with tissue paper. If you’re
asking what tissue paper has to do with making icy blue sparkle cubes, keep
reading to find out. It’s a really cool (I’d say no pun intended, but it was
just too good to pass up) project.
Before you
get started ask your child to predict what will happen when you freeze the
colorful water. Ask if he thinks the glitter will freeze too. After the exploration
is over, talk about your child’s predictions. Remind him of what he said and
have him compare that to what really happened.
Here’s What
You’ll Need:
·
An
ice cube tray
·
Blue
tissue paper – Do not use color-fast paper. It won’t work for this activity.
·
A
straw or paintbrush
·
Blue
food coloring
·
Blue
glitter
·
Water
·
Card
stock paper
Here’s What
to Do:
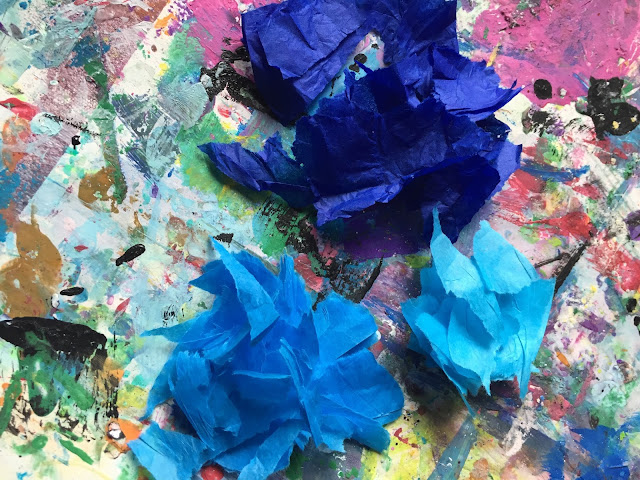
1. Tear up the tissue paper into pieces.
Try a few different shades of blue to see what happens.
2. Put the tissue into the ice cube
tray.
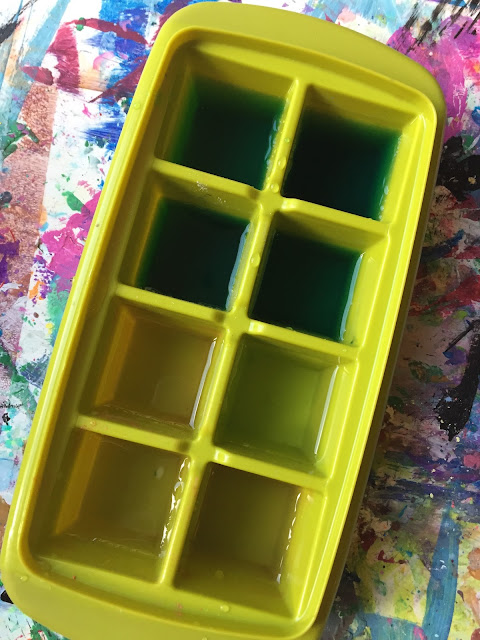
3. Fill each compartment with water.
4. Let the tissue color bleed into the
water, stirring periodically with a straw or paintbrush. Your child can compare
the different shades of blue to see if they look different. Our lighter blue
didn’t work at all – sometimes these things just don’t come out like you think
they will. But, the deep blue did work well.
5. Fill any remaining compartments (or
use another tray) with water and a few drops of blue food coloring.
6. Stir the food coloring.
7. Sprinkle glitter across the top,
covering the water completely.
8. Put the colorful sparkle cubes into
the freezer.
9. Pop the frozen cubes out when they
are ready.
10. Paint
with the blue glitter water colors on the card stock paper.
11. Optional:
Add a layer of school glue (your child can paint it on) first. This gives the
glitter something to stick to.
When your
child is finished painting with the ice, ask him about the liquid to solid to
liquid transformation that just happened. Talk about the water and why it
turned into ice. Have your child explain (in his own words) what happened to
make the ice turn back into water again. You can also discuss the tissue paper
and why the color came off of it. Instead of telling your child, let him tell
you!
Are you
looking for more science and art activities? Follow my Pinterest board for
ideas from around the Internet!
Follow Mini Monets and Mommies's board Preschool Art and Science Activities on Pinterest.


How smart to let the color bleed from the tissue paper! So much better than powdered tempera paint. We love frozen, we will be using this! Thanks :) Stephanie @ Raising Seraphim
ReplyDeleteLove the glitter aspect! Featured you this week on Mom's Library!
ReplyDeleteSucceed! It could be one of the most useful blogs we have ever come across on the subject. Excellent info! I’m also an expert in this topic so I can understand your effort very well. Thanks for the huge help. ice tub
ReplyDeleteRead Shayari in Hindi, Best & New Hindi Shayari on Love, Sad, Funny, Friendship, Bewafai, Dard, GoodMorning, GoodNight, Judai, Mehakal, Whatsapp Status in Hindi & English
ReplyDeleteShayari By Categories:-
Ab Shayari.Guru
Mahakal Status
Attitude Status
Bewafa Shayari
Sharabi Shayari
This is really well-informed valuable information in the blog. Visit OGEN Infosystem for custom website design and development services at an affordable price in Delhi, India.
ReplyDeleteWebsite Development Company in India
Thank you so much for sharing this information. Visit OGEN Infosystem for Website Designing and PPC Services in Delhi at an affordable price.
ReplyDeleteWeb Design Company in Delhi
Awesome, keep it for more valuable information update on this your page. Visit Kalakutir Pvt Ltd for Epoxy Paint Flooring & Coating and Food Truck Branding Services.
ReplyDeleteFood Truck Branding
Protrek Adventure provides the top quality tourism for Everest Base Camp Trek and Annapurna Base Camp Trek with full safety.
ReplyDeleteEverest Base Camp Trek
I am virtually impressed about the data you provide for your article. I have to say am enormously crushed by your whole story. I sit up for staying right here for a long term.
ReplyDeleteoffice.com/setup
mcafee.com/activate
Awesome blog. RP Paper Impex is a leading Writing Paper Manufacturers in India and Business Diary Manufacturer in India.
ReplyDeleteWriting Paper Manufacturers in India
Really creative things put in this blog, I like this blog. Visit RP Paper Impex for quality Writing Paper Manufacturers and Business Diary Manufacturer in India.
ReplyDeleteWriting Paper Manufacturers in India
Awesome and a great value article. Really nice really good one
ReplyDeletelove shayari in Hindi for boyfriend
Really impressive, keep it up for a more valuable update on this blog. Visit Digitaginfo for SEO, PPC, and all digital marketing services at an affordable price by well-experienced SEO Experts.
ReplyDeleteSEO Services in Noida
Interesting article, thank you so much for sharing this amazing blog with us. Visit Veramed for Best Quality Herbal and Ayurvedic Products in India and Buy Anti Hairfall Ayurvedic Hair Care Products at an affordable price.
ReplyDeleteBuy Anti Hairfall Herbal Hair Care Products
These you will then see the most important thing, the application provides you a website a powerful important internet page: take a look at the site here
ReplyDeleteYou are having a house in Peachtree Corner that's great but your house looks bored and dull that's pathetic. There you need to find the house Palm Bay Painting Services in Peachtree Corner. House gives us shelter and protects us from bad elements. When a house secures us the most how could we leave a house showing poor sight like it has no owner? There is a solution to make your house a...
ReplyDeleteWow, happy to see this awesome post. I hope this think help any newbie for their awesome work. By the way thanks for share this awesomeness from.
ReplyDeletePsychic Healers Near Me,
Kali Maa Puja In Texas,
How to get them boyfriend back by Vashikaran Astrology,
Have you ever experienced creating something with your own hands that brought you shear delight? Have you ever looked at a residential painting ann arbor mi and said " I wish I could do that?" Want to know what you will need to start painting?
ReplyDeleteThen you need not carry this incapability any further.tube ice maker
ReplyDeleteĐặt vé máy bay tại Aivivu, tham khảo
ReplyDeletemua ve may bay di my
lịch bay từ california về việt nam
vé máy bay khứ hồi từ đức về việt nam
giá vé máy bay từ moscow về hà nội
khi nào có chuyến bay từ anh về việt nam
chuyến bay từ paris về hà nội
vé đi hàn quốc bao nhiêu tiền
Your texts on this subject are correct, see how I wrote this site is really very good. Best NuWave Air Fryers
ReplyDeleteExcellent read, Positive site, where did u come up with the information on this posting?I have read a few of the articles on your website now, and I really like your style. Thanks a million and please keep up the effective work. Read more
ReplyDeleteDespite the fact that you have washed the pool down you should vacuum the whole pool through and through. In case you are finding a ton of little flotsam and jetsam on the lower part of the pool then, at that point, stop this cycle and wash and brush down the pool once more. Gifts Australia
ReplyDeleteJust saying thanks will not just be sufficient, for the fantasti c lucidity in your writing. I will instantly grab your rss feed to stay informed of any updates.How to maintain weight in Ramadan
ReplyDelete