Mini Monets and Mommies: clay art
Showing posts with label clay art. Show all posts

Sunday, November 27, 2016

10 Holiday Gift Must-Have's for Artsy Kids

Who loves making art? Your child does! The holidays are quickly approaching, and you need gifts, gifts and more gifts. After all, there are eight nights of Hanukkah and the Christmas tree has enough room to fit a sleigh-full of presents under it. So, what’s the answer? Kids’ holiday gifts that focus on art-making.

Holiday ideas


(This post contains affiliate links. Please see my disclosure statement for more information).

There are what seems like an endless supply of kids’ art materials out there. It can be almost unnerving to walk into a craft store and try to pick out a handful of supplies. In my years teaching children’s art classes I was lucky enough to have a wall of closets stocked high with almost every artsy item that a kid could want. Seriously. If only I could have that at home. But, I can’t (and I know most of us can’t). So, we need to pick and choose.

Holiday gifts
 

Yeah, the kiddos are going to ask Santa (or you) for video games, smartphones and all kinds of other stuff that they really don’t need—and that you really aren’t into buying. If you’ve got a crafty kid or just want to add some artsy ideas to their already lengthy list of holiday presents, these are some of my top picks. Along with gifting these to your child, you can also pack some away into a gift basket for others. Last year we put together an art-themed gift basket for a silent auction at my son’s karate school’s holiday party. It went over very well.

So, what are my favorite kids’ art supplies to give as holiday gifts?

1. Paint: Really, a nice tempera will do when it comes to process paint explorations or as a finger painting medium. I’m a fan of Crayola’s. The texture is easy for kids to work with, it isn’t too watery (I can’t stand watery tempera, it’s just way too runny for little hands) and it doesn’t get that weird smell after a few uses (when I worked in a preschool the paint closet always smelled like old tempera). I also like that you can choose small sized bottles (they come in multi-color packs) or larger sizes.
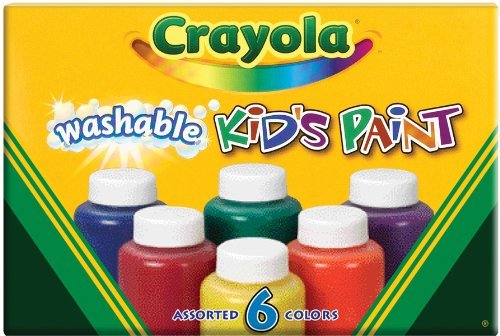
Crayola paint
 

2. Oil pastels: I love, love, love oil pastels. Yes, kids like regular ol’ crayons. But, when you take out the oil pastels, they really get creatively crazy. They’re slightly less of a mess than paints, but the kids can still blend the colors together. This 50-piece assortment of Cray-Pas gives your child all the shades and hues she’ll need.
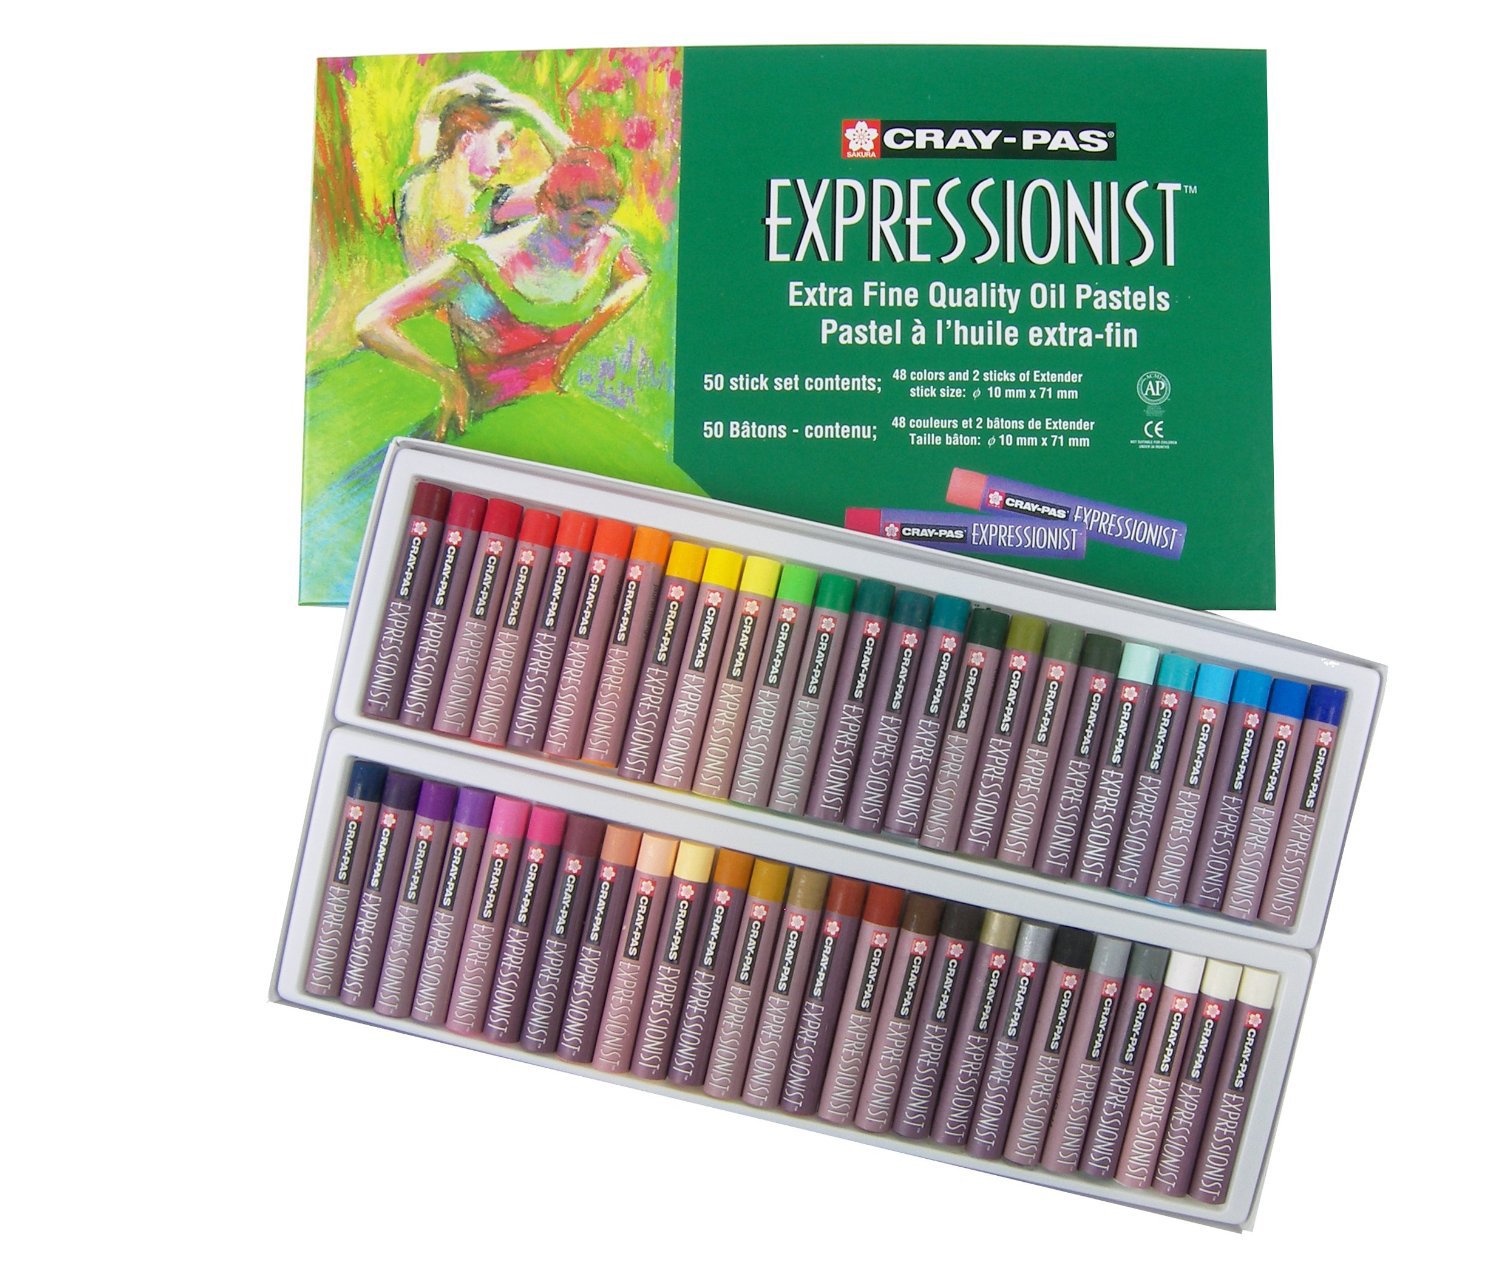
Oil pastels
 

3. Modeling clay: Building and sculpting are fine motor favorites. But, I also like using modeling clay to paint. What? How? Follow this tutorial to see how (it’s such as less-mess version of finger painting). Crayola has my favorite kind of clay for artsy play. While you’re looking, their Model Magic (which is a totally different type of compound) also makes a creative kids’ holiday present too.
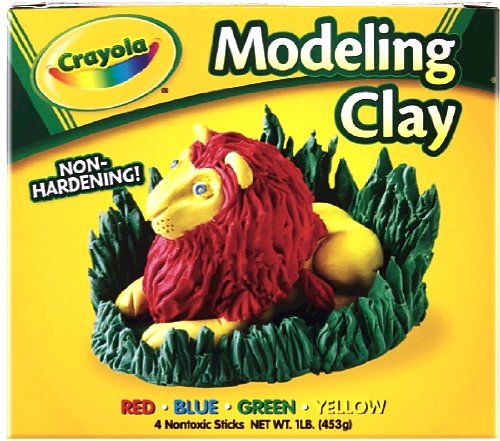
Modeling clay
 

4. Glitter: What child doesn’t want to play with the sparkly stuff? ALEX Toys Artist Studio24 Glitter Shakers gives your child so many sparkle-filled options to choose from.
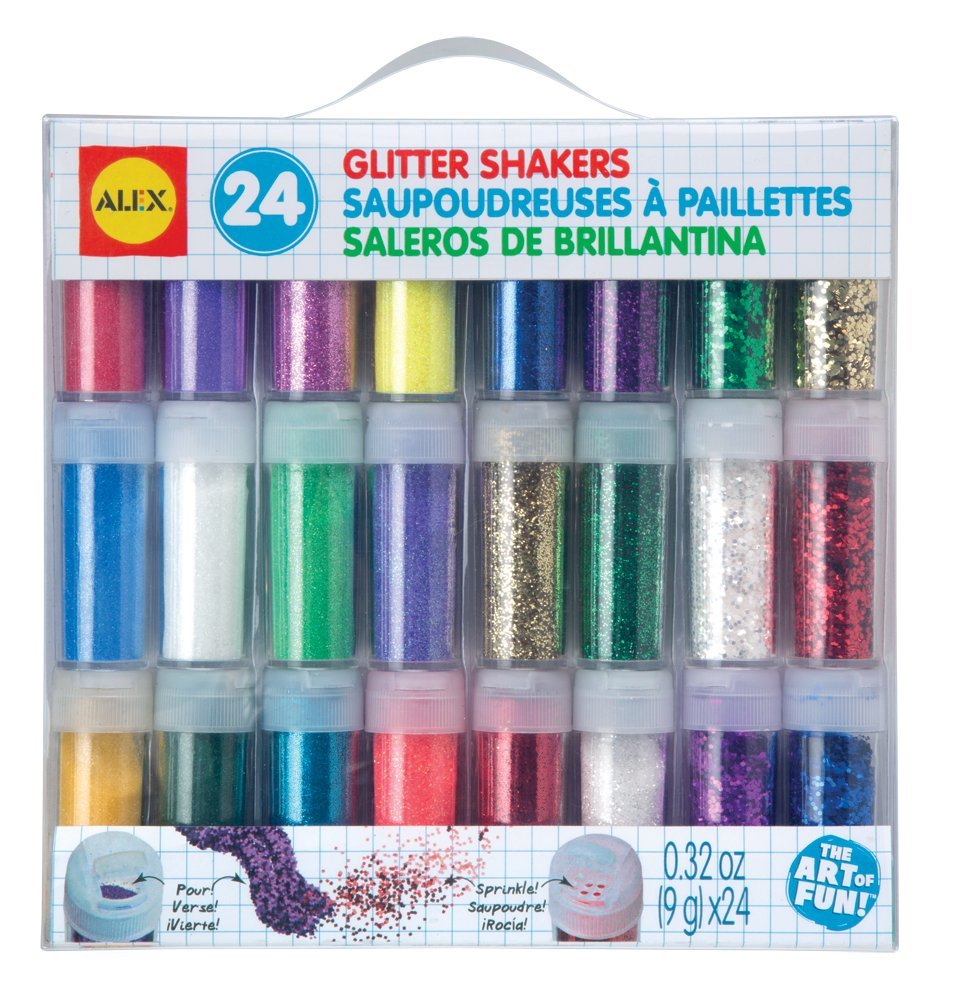
Glitter art
 
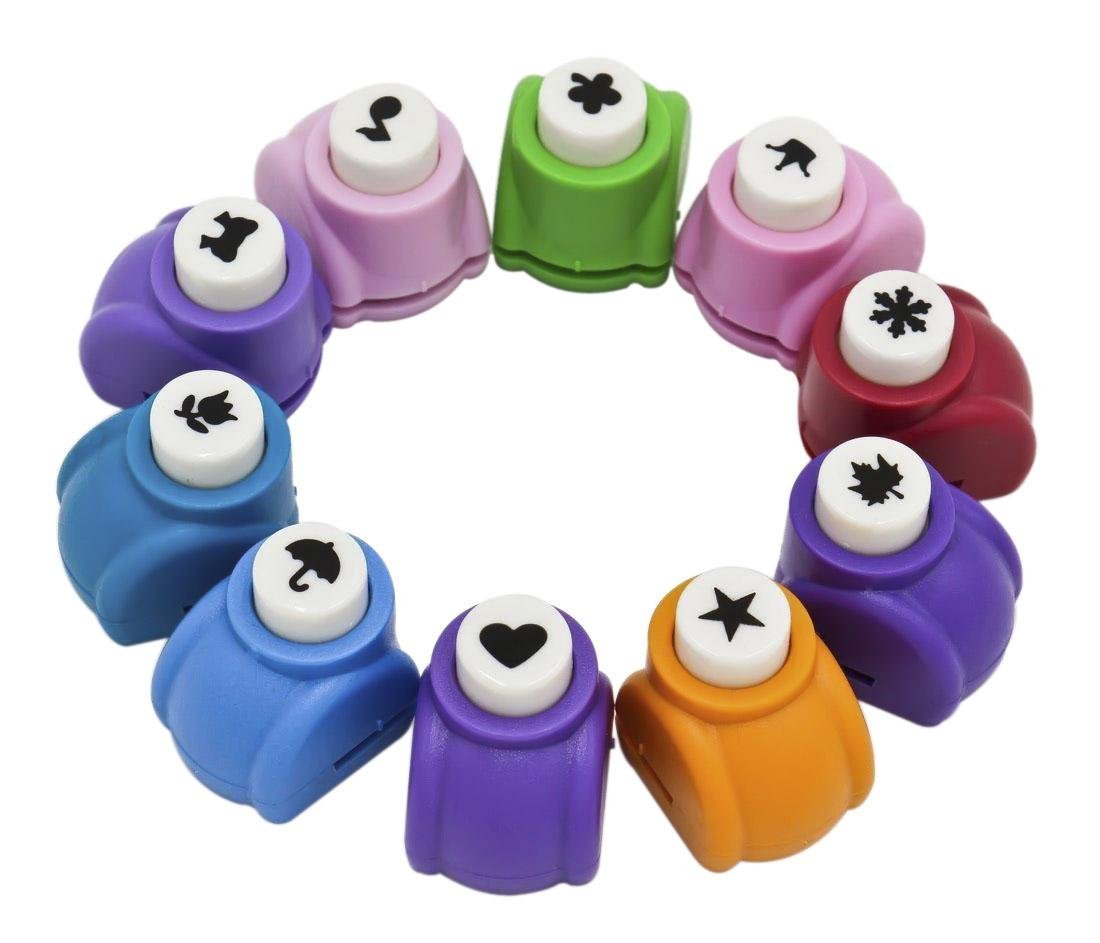
5. Hole punches: I know, I know—hole punches? Right? These shaped punches are perfect for so many crafts. Really, I used to use them all of the time when I taught art classes. Let the kiddos punch a bag of shapes, then use them anytime to collage or add to a craft project.
 
Hole punches
 

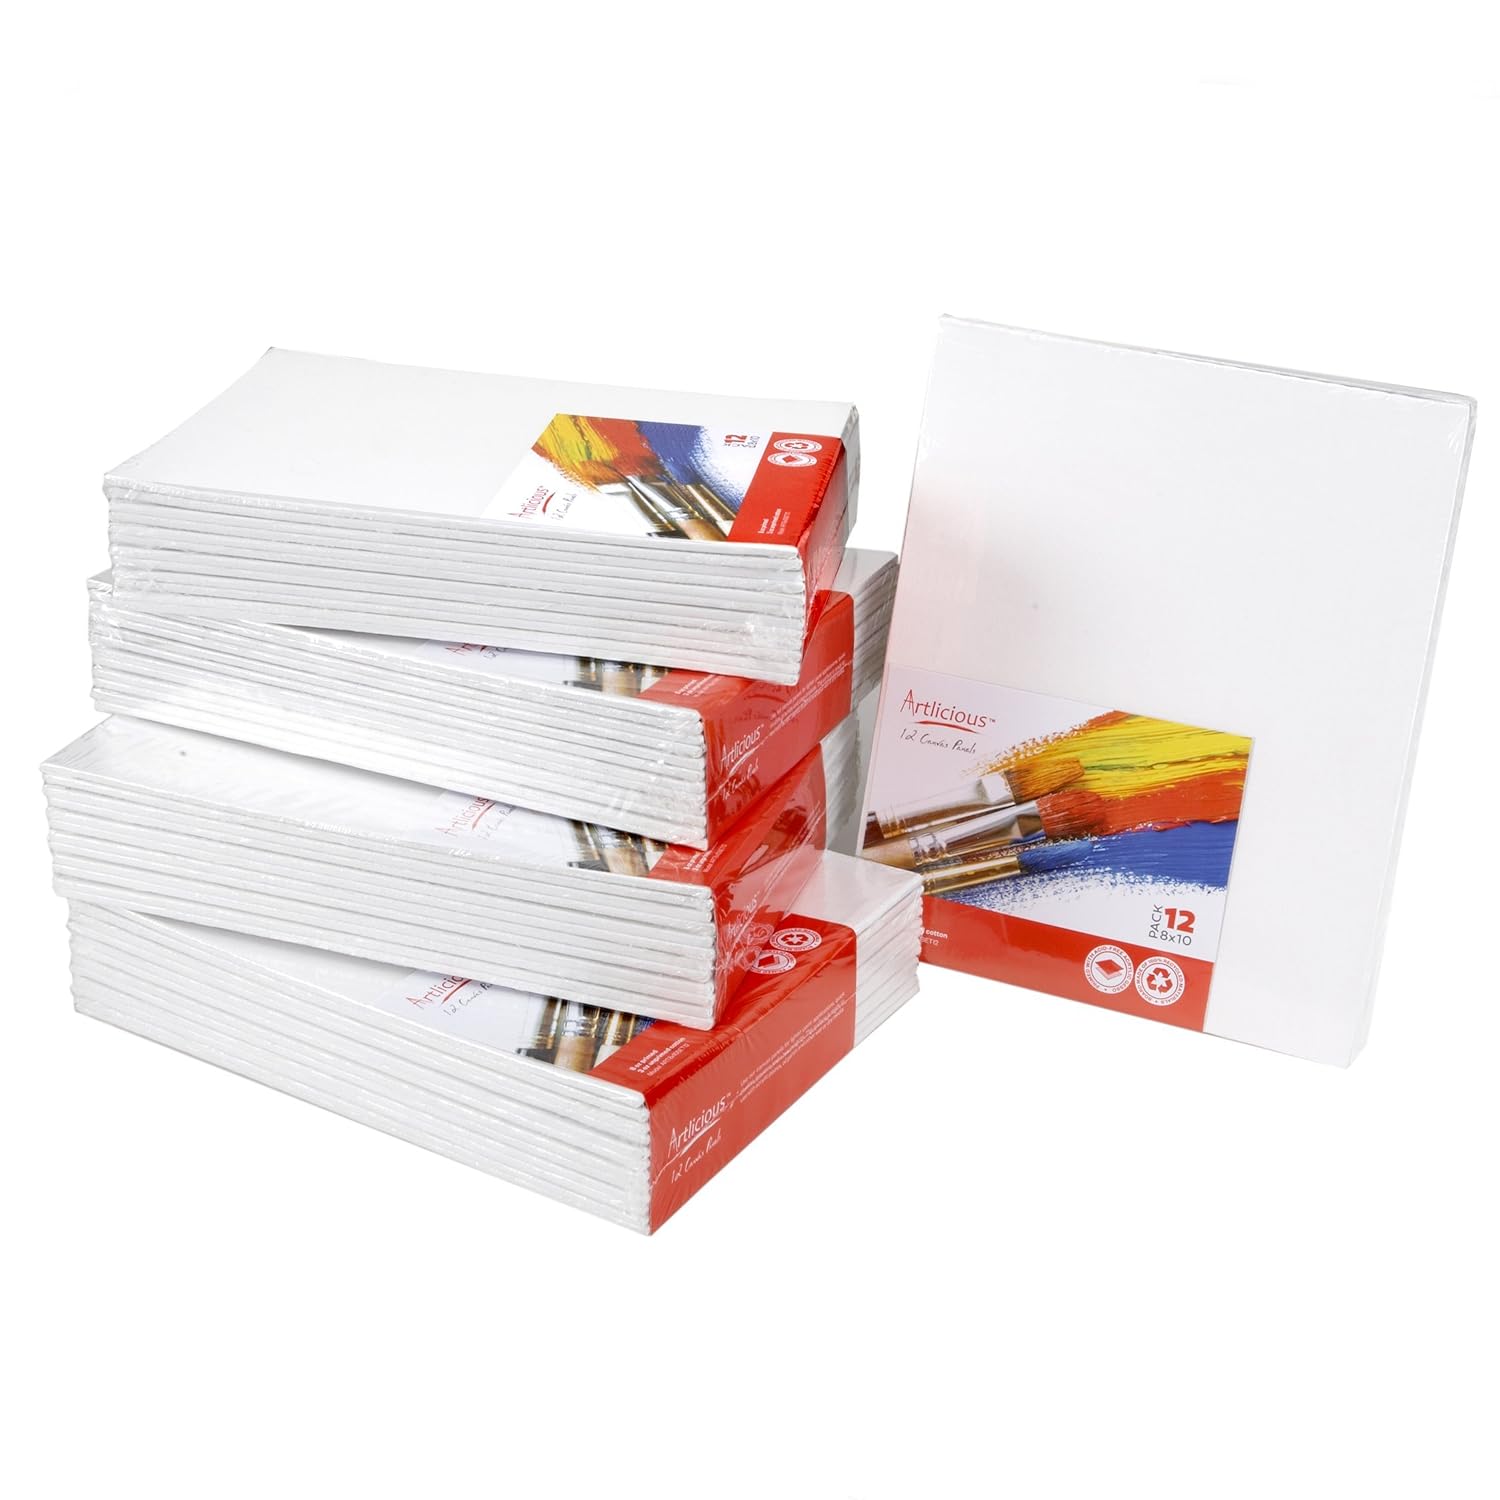
6. Canvases: Ready-to-use canvases are an ideal alternative to plain construction paper. Your child is probably pretty used to painting on paper (or maybe poster board). A pack of canvases gives her a new option, making her feel like a “real” artist.
 
Art canvas
 

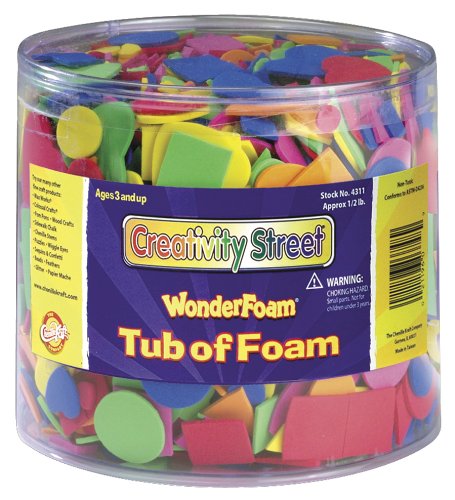
7. Craft foam shapes: These are super-easy to use. You can get adhesive back ones (they’re basically like puffy stickers) or plain ones to glue on. In either case, gifting your child with an assortment means hours of crafting fun. You can pick a theme that interests your child or go with something educational (such as letters and numbers).
 
Foam shapes
 

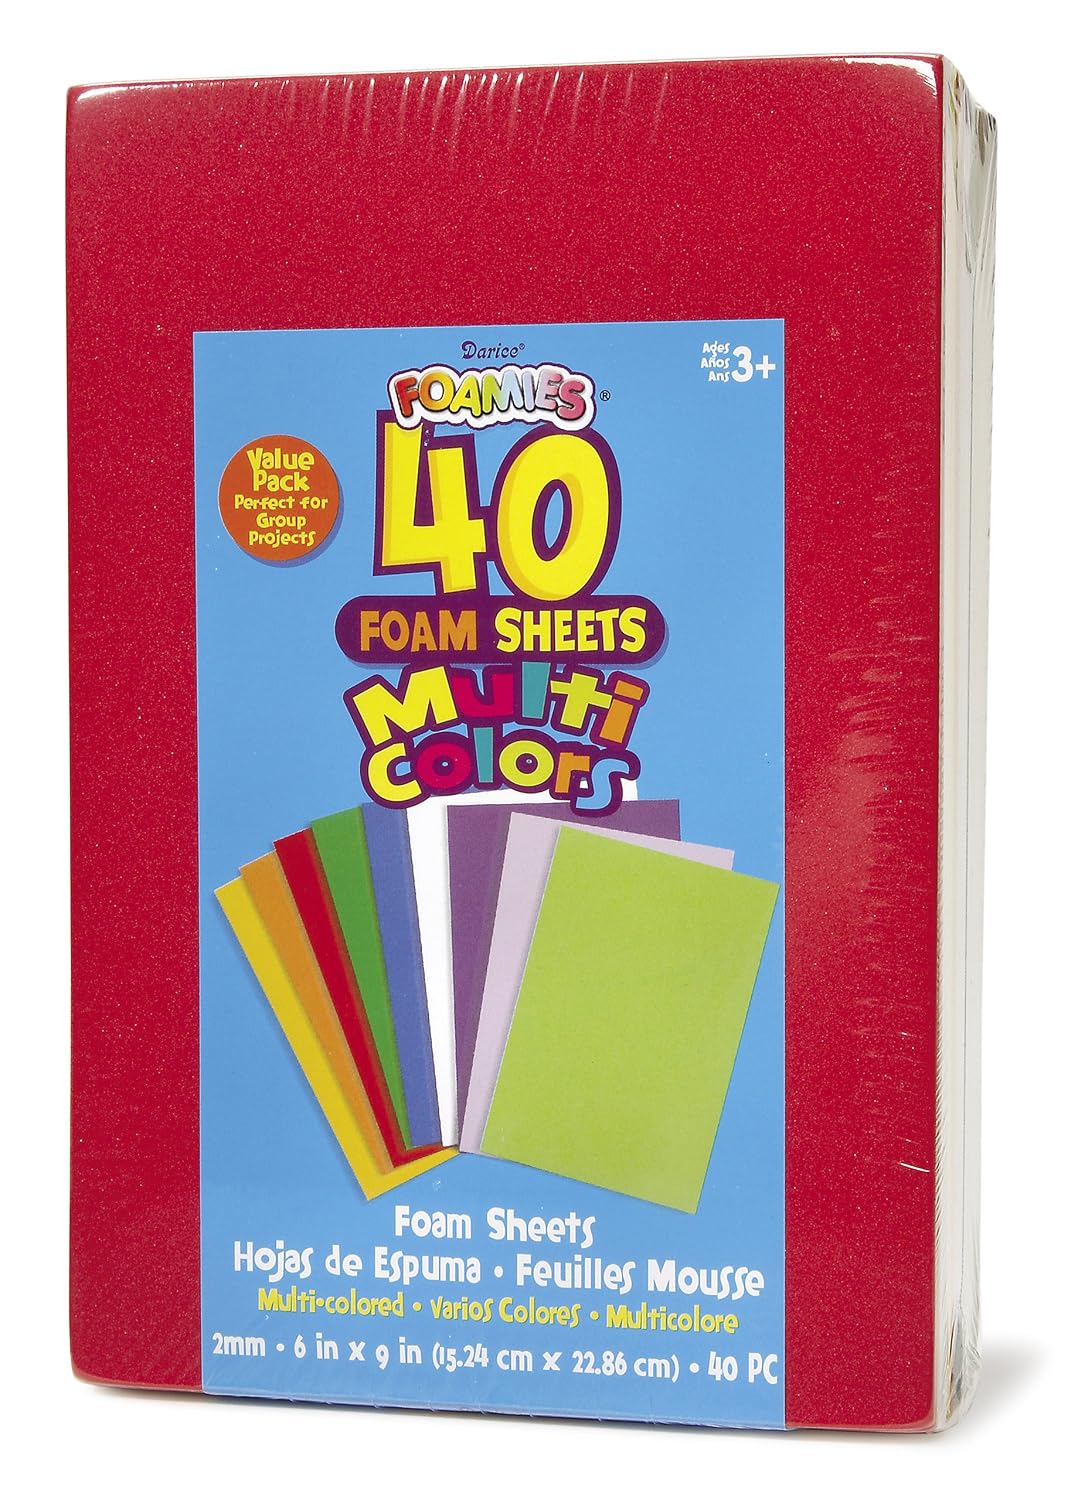
8. Craft foam sheets: While we’re on the subject of craft foam, adding in a few paper-sized sheets makes for even more artsy good times. Your child can cut these apart and add craft foam shapes to DIY her own bookmarks, fold them in half to make books or use her imagination and create whatever she wants to.
Craft foam
 

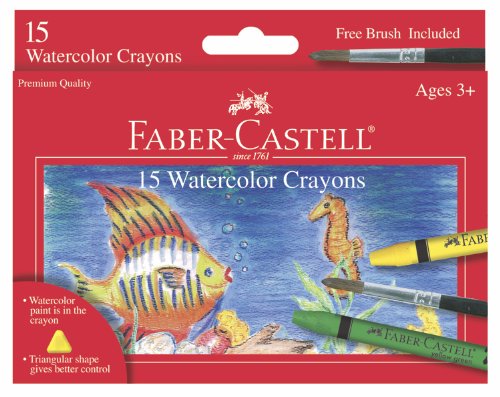
9. Watercolor crayons: As if watercolors weren’t fun enough as is, try this art item out with the kiddos and see what happens. They can draw (like they’re using crayons) and then brush on water for a paint effect.
Watercolor crayons


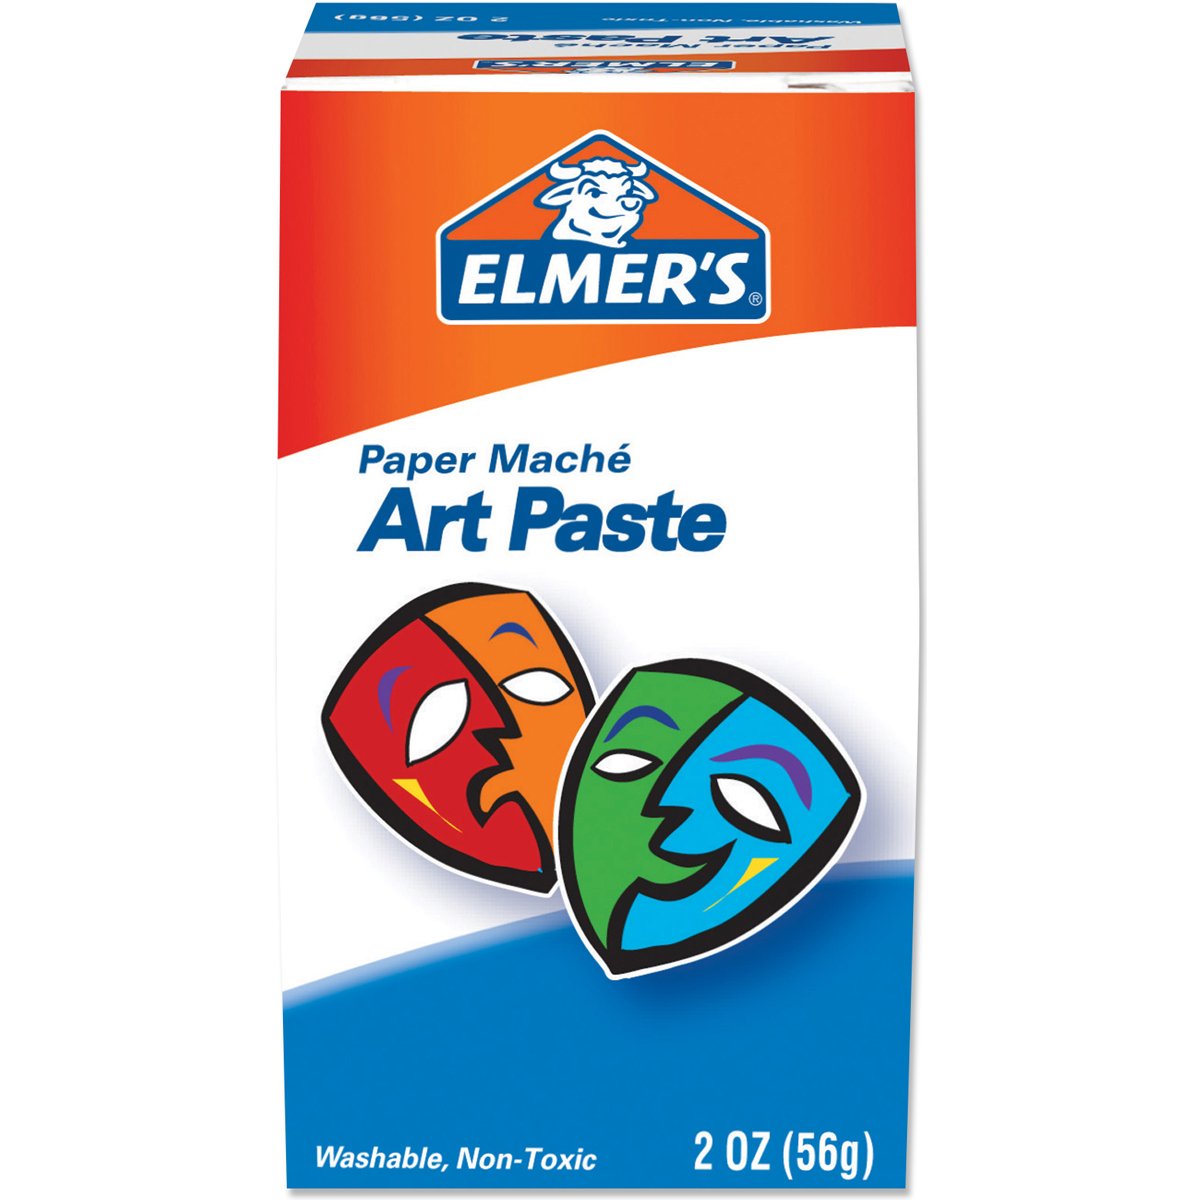
10. Paper mache art paste: Oh, this is my all-time top paper mache pick. Sure, you can make your own using school glue, water and flour. But, I adore Elmer’s version. It’s a powder that dissolves into water, giving the kids tons of ooey, gooey artsy sculpture-time play.
 Art paste


Friday, September 30, 2016

Finger Paint with Clay and Temperas

Finger paint plus clay equals a pretty awesome art activity! So, you’re looking for kids’ art explorations and you want something that lets your little one get creative and play with some crafty materials. Then, this might be what you’re looking for.

Finger paint


(This post contains affiliate links. Please see my disclosure statement for more information).

Okay, this activity is definitely what you’re looking for. It’s clay paint, finger paint, process art-making fun! And, your child gets in a fine motor workout. Bonus points if you connect to science too (which you very easily can). How?

Well, first let’s start the art-making itself. Your child is going to start with a layer of clay ‘paint’. We’ll get into the specifics in just a moment. This is one of my absolute favorite artsy ideas. I started using it when I taught gallery-based museum art classes for preschoolers. Obviously, I could bring real paints into the art galleries. Imagine your 3-year-old, some temperas and a real Monet. Not exactly a match-up. So, instead of real paint, I used soft modeling clay. It spreads well, the colors mix and it creates a pretty cool texture.

This activity also adds on actual finger paint. Why? Mostly, because you probably aren’t making this in an art museum. In that case, why not make a mess? And, here’s where you can add in some science. First, ask your child to make a prediction. What will happen to the clay when she spreads it out? Or, what will happen to the clay when she mixes the paint in? Next, make observations. How do the clay and the paint mix—or how don’t they? During the art activity your child can experiment with mixing colors (both with the clay and with the paint).

Now, let’s get back to the art-making…

Here’s What You’ll Need:

·        Soft modeling clay

·        Tempera paints

·        Card stock paper (or cardboard)

Here’s What to Do:

1. Pull the clay apart into dime-sized balls.

2. Spread the clay. Your child can push the clay down and spread it across the paper (in a finger paint-style motion). She can layer the clay, mix it together or spread it out in her own design (or, she can make an abstract art piece).

Clay art
 

3. Pour the paint onto a palette. I like to use a simple piece of wax paper. It’s easy. It’s inexpensive. And, it keeps the paint from getting on your table.

 
4. Finger paint—with the paint! Your child can paint on top of the clay, adding new colors and textures to her artwork.

Craft project


Thursday, September 8, 2016

Halloween Finger Painting with Clay Kids' Art Activity

Finger painting? In your house? With your ivory walls and bone-colored carpet? Hardly. You want your child to explore and experiment with art. But, honestly, the mess scares you.

Halloween craft

(This post includes affiliate links. Please see my disclosure statement for more information).

Hey, there’s no shame in the fact that you want to run the other way, screaming, when your little artist says, “Mommmmmmy! I want to paint. Now!” Seriously, who has time to wipe paint-covered finger prints from their walls, tables, chairs and floors?

Okay, so you’re thinking, “But, aren’t I supposed to let my child explore all things process-based?” Yep. I’m completely for it. I spent the better part of a decade bringing process art activities to parents and children as a museum-based arts educator. That said, as a mom, I totally understand the, “I don’t want that mess in my house” mentality. There were plenty of moms who brought their kids to our museum classes for that exact reason.

Sometimes you really don’t mind the messy art projects. But, even if it’s okay in your house – when you travel to grandma’s or take the kiddos to your in-laws, it might not be. That’s where painting with clay comes into play. Your kids can get a fine motor workout, explore different textures, blend colors and create a ‘finger painting’ without ever actually touching paint. Instead of the typical temperas, you’re going to swap in modeling clay!

Your child can try this art activity on its own. Or, you can add another layer to it and create Halloween art. How? Check out the easy (and almost mess-free) process…

Kids art
Here’s What You’ll Need:

·        Soft modeling clay – I’m not saying you should go into the craft store and unwrap every box of clay. But, I have been known to feel a box or two (or more) of clay. I’ve also returned clay for being way too hard. It shouldn’t feel like a rock. If it does (or won’t spread at all) being it back.

·        Card stock paper or cardboard (cut the side off of a box)

·        Googley eyes

Here’s What to Do:

1. Pull the clay apart into dime-sized pieces. This makes it easier for your child to spread.

2. Finger paint! Your child can press the clay (piece by piece) onto the board. Then, she can use her fingers to spread it out. Add more colors to mix and blend them.

Kids' crafts
3. Press googley eyes into the clay, making a monster masterpiece for Halloween.

Children's art
Call it a monster, a ghost or whatever you want – it’s artsy Halloween fun!

Friday, April 22, 2016

Kids Can Finger Paint with Clay: Shapes, Colors and More!

Finger painting with clay? That’s right! Why? Raise your hand if your child absolutely adored the ooey gooeyness of painting. Now raise your hand if you’re not exactly thrilled about the mess.

Kids' art

(This post contains affiliate links. Please see my disclosure statement for more information).

Okay, so we all have heard that messy play is good for kids. Not just good, but totally beneficial when it comes to encouraging creativity, inspiring imagination and even improving critical thinking skills. That said, sometimes we have to be practical. Let’s say you’re at grandma’s house for a week in the summer. The kiddos are begging to do a finger painting art activity. But, grandma’s white carpet or couldn’t-be-cleaner kitchen just can’t handle the splatters that are sure to ensue. What now? I have an answer that let’s your child ‘finger paint’ without actually using anything that’s a liquid.

I used to teach a preschool art class in a museum – entirely in the art galleries. If you think grandma freaks about getting teeny tiny droplets of tempera on her tile floor, imagine what the museum higher-ups thought about the prospect of having 3- to 5-year-olds making art in the same space as original Monet’s, Van Gogh’s and Pollock’s. Obviously, no paint was allowed. But, the kids always wanted to paint (and the parents always asked about it).

In order to get a paint-y feel, without actually making a mega mess, I swapped in soft modeling clay. The clay sticks to the paper underneath, and almost acts like actual finger paint (if it’s soft enough your child can mix colors, create textures and explore with lines/shapes). It’s also a tremendous fine motor workout!
Clay art

In the past we’ve done general exploration types of clay paints as well as famous artist-inspired ones. This time we’re adding some math (and a recycle/reuse theme). Instead of buying paper or board, have your child search the house for a cardboard source to reuse. Cereal and cracker boxes are great options. The cardboard is thick enough so that the clay doesn’t soak through, but thin enough that the kids can still cut it.

How does the math come into play? Your child is going to make her own geometric shapes to cover in clay paint! Use these instead of flash cards or ready-made products to learn shape names.

Here’s What You’ll Need:

·        Cardboard

·        Scissors

·        Markers

·        Soft modeling clay (in at least two different colors)

Here’s What to Do:

1. Draw shapes onto the cardboard. Your child can make them as small or large as she wants. The bigger the shape is, the more clay (and more work) it will take.
Recycled crafts

2. Pull the clay apart into pieces.
Clay Colors

3. Smooth the clay onto the cardboard, finger paint style. Your child can use her hands to mix the colors together, blending red and yellow into orange, red and blue into purple or yellow and blue into green.
Fingerpaint Clay

Clay project

Kids art

As your child works, she can layer the clay to make textures, uses her finger tips (or simple tools such as craft sticks) to make patterns/marks or add more colors.


Thursday, March 17, 2016

Spring Showers and Flowers Kids' Art Activity

April showers bring May flowers – right? If you’re looking for a spring themed kids’ art activity, I’ve got a paint and clay exploration for you!

Spring art

This post contains affiliate links. please see my disclosure statement for more information.

This started as a simple piece of pattern play, with clay of course. It grew into a multi-media project. Your child can explore two kinds of paint, color-mixing and much more.

What can this art exploration help your child to learn (or how can it help her to develop)? Obviously, it focuses on spring plants (so, that’s some science for her). After creating flowers, your child will add ‘rain’. Use this opportunity as a way to introduce the plant growing cycle (including what a plant needs to grow – such as rain).

The color-mixing aspect also ties in science as well. The ‘finger paint’ clay process is an easy way to build fine motor skills, as is playing with different types of paintbrushes (thick and thin). If your child chooses, she can create a pattern with the spring flowers she’s making. Use this as a math activity, helping your child to understand what a pattern is and counting the blooms.
Kids' art

Keep in mind, your child’s artwork doesn’t have to look exactly like what’s pictured here. Encourage her to explore, experiment and make her own discoveries within the materials given and the processes used!

Here’s What You’ll Need:

·        White paper

·        Green modeling clay (make sure that it’s soft)

·        Tempera paint (choose as many or as few colors as you want – you can also just go with the primaries)

·        Blue water color paint

·        Thick and thin paintbrushes

Here’s What to Do:

1. Tear dime-sized pieces of clay apart. Press the clay onto the paper, ‘finger painting’ flower stems. Your child can make the same motion as she would if she was actually painting with her hands. Soft clay will easily spread and stick onto the paper.
Kids' crafts

2. Pour a few quarter-sized pools of tempera paint onto a piece of wax paper (it’s a simple, and affordable, palette).

3. Mix the colors into new ones.
Tempera Paint

4. Choose a paintbrush (or your child can use her fingers). Dab different colors of paint onto the flower stems.
Kids' art

5. Make it rain! Wet another paintbrush. Dip it into blue water color paint.


6. Sprinkle the water color paint over the flowers to create rain, splattering it like a Jackson Pollock artwork! Your child needs to keep adding more water and paint to the brush as she goes along.
Flower painting

Are you looking for more kids’ art activities? Follow our Pinterest board for ideas!
Follow Mini Monets and Mommies's board Creative Kids Crafts on Pinterest.

Friday, January 22, 2016

Tu B'Shevat Tree Kids' Clay Craft

Tu B’Shevat marks the ‘new year’ for trees. This might not be the best-known of the Jewish holidays, but it’s one that I always remember.

Tree Craft

(This post includes affiliate links. For more information please see my disclosure statement).


Every year we got to ‘plant’ trees in Israel. By plant, I mean we filled out a form, made a donation and a tree was planted in our names. I remember daydreaming about visiting my mini field of trees – that never happened. But, in celebration of Tu B’Shevat your child can grow her own forest.

Ok, not really. But, she can make her own trees out of modeling clay and ‘plant’ them in some more clay. Your child can sculpt a grove of flowering trees, fruit trees or imaginative make-believe trees that have wild colors, bold patterns and swirls of hues. This also provides you with an opportunity to talk to your child about plant science and the growing cycle. Ask her where trees come from and what they need to grow.

We have somewhat of a stockpile of broken boards at our house (a side effect of seven years of karate). Instead of letting them pile up in the basement, I like to use them for art activities. For this one, we reused a board as the forest floor base. If you don’t have a board, don’t worry. You can use thick cardboard instead (e.g., the side of an old moving box).

Here’s What You’ll Need:

·        A piece of wood or cardboard (it must be flat, but can be any size you want)

·        Modeling clay

·        Thin wooden pegs (you can find these online or at most craft stores)

·        Tempera paint

·        A paintbrush

Here’s What to Do:

1. Paint the pegs. Your child can paint a realistic-looking brown trunk or opt for something colorful and out-of-the-ordinary. Let the paint dry completely.
Kids' art

2. Finger paint the board with clay. Tear apart dime-sized pieces of clay and spread it (like finger painting) across the surface. It will stick. Make hills or mounds with the clay to push the peg trees through. Your child can create a topographical type of ‘map’ on the wood or make an imaginary area in a rainbow of colors.
Finger paint

3. Sculpt tree tops. Ball up green clay (or a mix of colors). Press it onto the top of the peg. Your child needs to experiment with the weight of the clay in order to find out how much she can put on top of the peg. Add too much and it won’t be easy to anchor the peg into the clay base. Add too little and the tree may look somewhat sparse. Your child can also add on flowers or fruit using smaller pieces of clay.

4. Press the bottom of the peg tree trunk into the clay base. Repeat for other Tu B’Shevat trees.
Tu B'Shevat art

Let’s recap: What did your child just learn/develop?

·        Culture: The Jewish holiday Tu B’Shevat (the new year for trees).

·        Science: Biology (the growing cycle) and physics (the effect that gravity has on a weighty peg). If you’re reusing wood or cardboard, your child is also learning about the environment.

·        Fine motor: Painting and playing with clay build dexterity and eye-hand coordination.

·        Art: Colors, shapes and exploring materials.
Holiday art

Are you looking for more kids’ crafts? Follow our Pinterest board for ideas!

 
Follow Mini Monets and Mommies's board Creative Kids Crafts on Pinterest.

Sunday, January 17, 2016

Peg Doll Kids' Craft: Wild Wigs and Crazy Colors

Recently I’ve seen adorable peg doll craft tutorial after even more adorable tutorial. So, I decided to try my hand at making a few of these cute little playthings. That said, I’m not quite the seamstress, and I truly doubted that I had any ability to sew teeny tiny little clothes for the pegs.

Kids' Craft

(This post contains affiliate links. Please see my disclosure statement for more information).

Instead of sewing or using fabric, I tried out pipe cleaners on the dolls. Super-easy and worked very well. While making a snack stadium (yes, they do exist – and are much more fun than simply stashing snacks on a table), I added these dressed-up pegs as football fans.

After making the first batch, I set out to create a few more. The only issue was that I had no more pegs. Even though the craft store is a quick 10 minute drive away, I didn’t feel like leaving the house on a cold, cold Sunday. With the pipe cleaner clothes and clay hair, I figured that it wouldn’t be terribly tricky to swap out the old look for a new one. And, it wasn’t!
Doll Craft

Not only can your child create her own peg dolls to play with, but she can make an infinite amount of interchangeable clay wigs and pipe cleaner dresses. This means endless pretend play possibilities. Your child dress up the dolls in holiday colors (such as pink and red for Valentine’s Day), make rainbow-hued hair or mix and match designs.

Here’s What You’ll Need:

·        Wooden peg dolls (you can find these at most craft stores or online)

·        Markers

·        Modeling clay (do not get air dry clay, it will crack and fall off)

·        Pipe cleaners

·        Scissors

Here’s What to Do:

1. Draw a face on the doll with the markers.
Children's art

2. Wrap the peg with a pipe cleaner (or a few, for a multi-colored outfit), starting at the neck.
Wooden pegs

3. Mold the hair on the peg’s head with the clay.
Art activity

That’s it! When your kiddo gets bored playing with the dolls, take the ‘hair’ off and unwrap the pipe cleaners. Switch up the wigs and re-wrap the dolls with new pipe cleaner colors. What else can your child do with the dolls? Along with crafting them, your child can create pretend plays for the dolls. Use the changeable outfits (and hairstyles) to dream up colorful characters or make a fictional friend from a favorite book come to life!


Are you on the lookout for more kids’ crafts? Follow my Pinterest board for ideas!
Follow Mini Monets and Mommies's board Creative Kids Crafts on Pinterest.

Thursday, December 3, 2015

Kids' Hanukkah Clay Craft Menorah

I’ve been making menorahs lately. No, not real ones. Instead, a few kid-sized Hanukkah art activities. There were 3D recycled cardboard finger paint menorahs, melting ice sculptures ones and even a version made from paint printed sponges.

Hanukkah art

(This post contains affiliate links. Please see my disclosure statement for more information).

If you’re looking for something a bit different (and less mess than painting), mock ‘finger painting’ with clay takes the cake. For this kids’ holiday activity I added the finger paint clay to craft sticks to make mini menorahs. No, you can’t really light them. But, your child can add faux flames with yellow modeling clay. Like finger paint, your child can mix, mingle and blend colors together. The difference is that there’s no goopy mess and he can layer on a bumpy or lumpy texture (or smooth it out).

Here’s What You’ll Need:

·        Thick craft sticks

·        Scissors

·        Modeling clay in a few different colors (look for a soft, spreadable clay)

·        Clear-drying school glue

·        Card stock paper or poster board

Here’s What to Do:

1. Cut four craft sticks in half.
Kids' art


2. Cut another craft stick about one-third of the way up. This one will become the shamash, or helper candle (it lights the other ones).

3. Pull the clay apart into dime-sized pieces.
Modeling clay

4. Spread the clay over the craft sticks (only one side). Your child can spread several colors together. They’ll mix almost like paint. He can even try mixing primary colors (red, yellow and blue) into secondaries (orange, purple and green).
Children's crafts

Colorful clay

5. Repeat the clay finger painting step for two more whole craft sticks (these will become the bottom or base of the menorah).

6. Glue the base sticks horizontally next to one another onto a piece of card stock or poster board.

7. Glue the eight candle sticks and shamash vertically, starting at the top of the horizontal sticks.
Clay finger paint

8. Spread a piece of yellow clay above each stick candle to make mock flames. Your child can do this all at once (to complete the menorah craft) or add one each night of Hanukkah.
Menorah Art

Are you looking for more kids’ crafts? Follow my Pinterest board for ideas!
Follow Mini Monets and Mommies's board Creative Kids Crafts on Pinterest.